Showing posts with label necklace. Show all posts

Crafty jewelry: Neon Friendship Necklaces tutorial


Materials:
Neon twine/string (I found a pack of 5 at the local hardware store)
Small brass S hook
Pliers
Scissors
Lighter or matches

Directions:
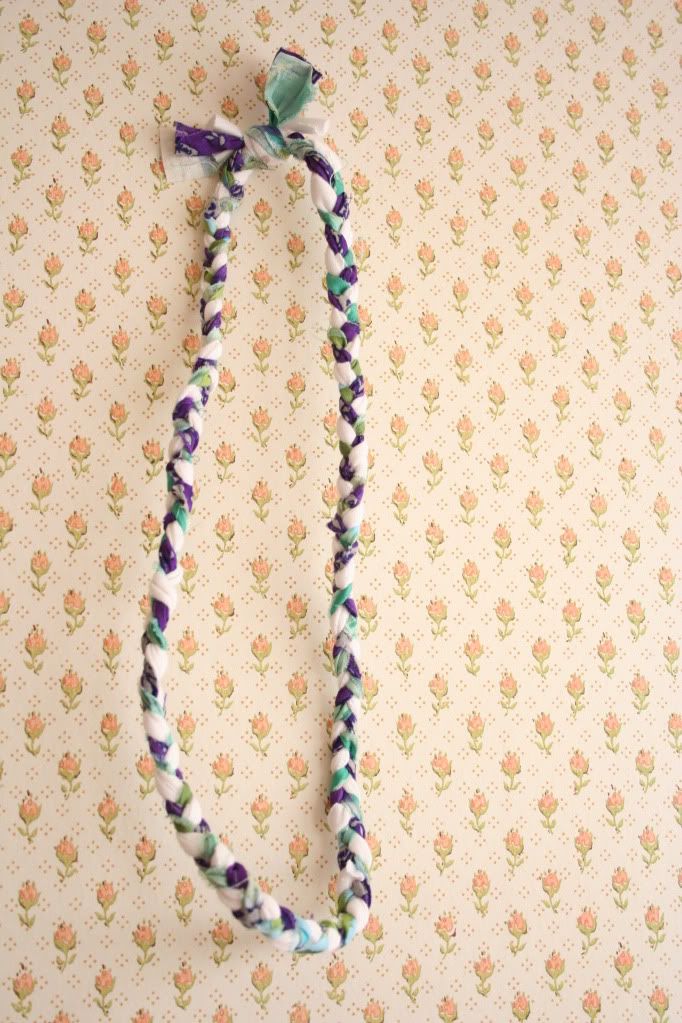
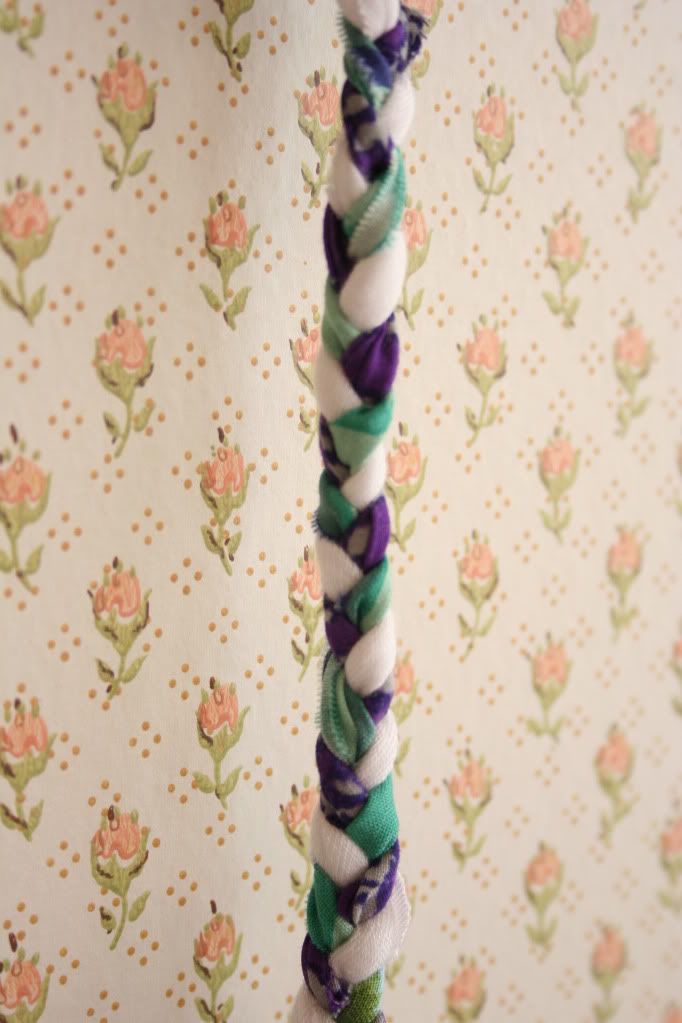
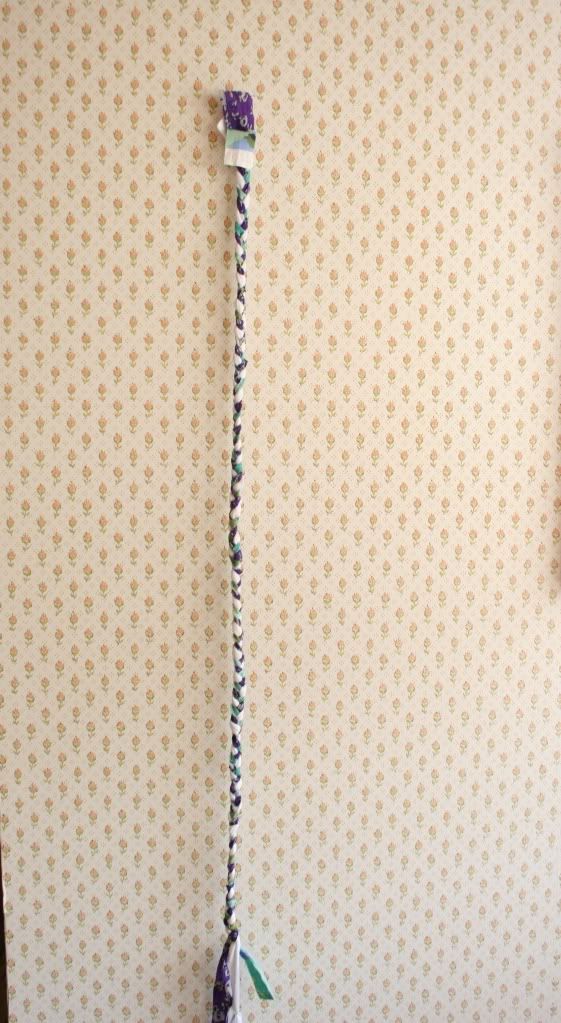
1. Honestly, just do whatever kind of braiding, knotting and twisting you remember and enjoy from childhood. I did a braid. A chinese staircase. And I twisted two twines together and then folded them over on themselves. I made each piece of the necklace long enough to slip over my head so I wouldn’t need a traditional clasp.
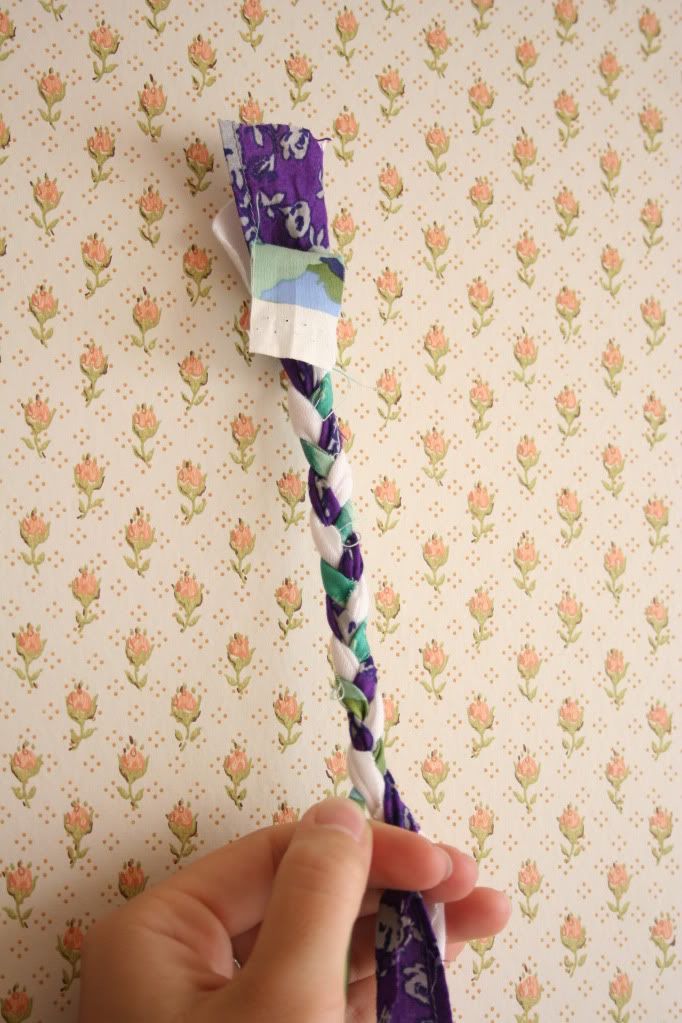
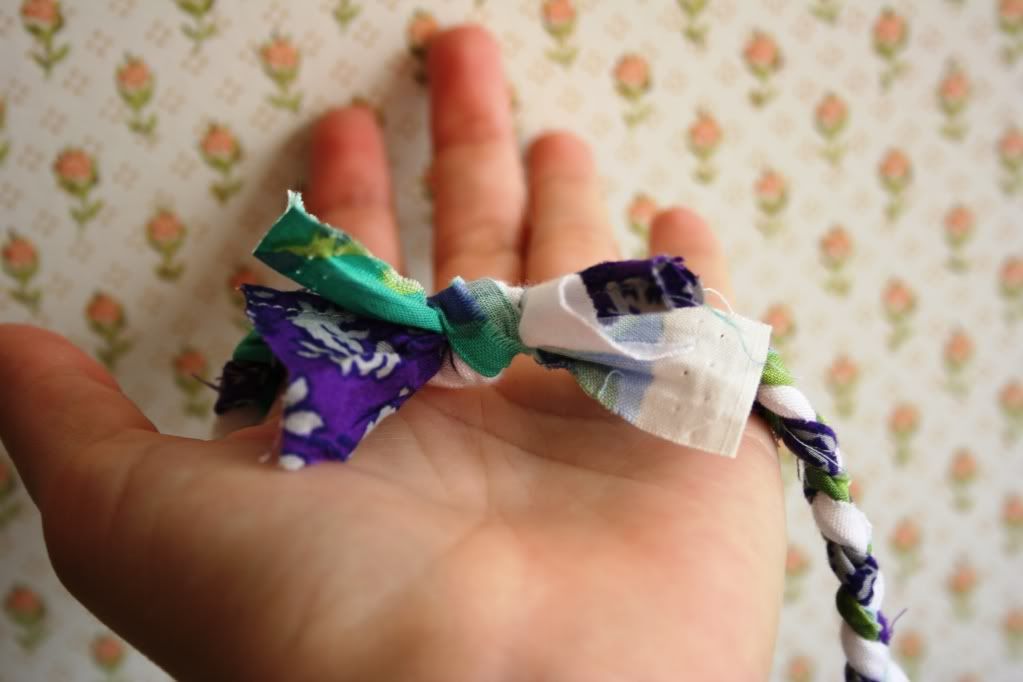
2. I then attached each of the necklace pieces to an S hook that I had flattened with pliers on either S curve to remove the space.  With a lighter, I burned the knots and ends of the strings to melt and secure them to one another and the S hook.
3. Then I rocked some killer shades. Oh snap!
Photo: Courtesy of Green Eyed Monster®

  Crafty jewelry: Neon Friendship Necklaces tutorial

How To: Make a Chinese Staircase

Crafty jewelry: No-Sew Scrap Fabric Necklace tutorial

No-Sew Scrap Fabric Necklace tutorial

Two days of classes down- alot more to go! Now that I feel like I've got a handle on summer classes- I'm back to crafting!!! I've seen a few of these scrap fabric necklaces but decided to skip the tutorial and do it my own way! (this is my way of trying to give credit to all the photos I've seen of these- sorry for not being more specific!)


On to the Kitty's version of the tutorial! First, cut long strips from scrap fabric. Don't have any? Cut up a tshirt!!! (you know how I love doing this!!) I used a mix. 3 strips (anywhere from an inch to 2 inches wide, and about 1.5X as long as you would like the necklace to be) total- but could use more strips to make multiple layers! I used 2 strips of scrap fabric, one strip of tshirt. Totally okay to mix and match on this one! 

Now you want the end to stay while you're doing it, but you dont want the extra knot at the end. I decided to tack mine to the wall.

Rubber band, twisty tie, clamp, or forcing a friend or small child to hold it for you is a-okay too!! leave enough room at the end not braided to tie it off! No worries if you don't leave enough, you can always unbraid part!

On to braiding!!! I tried to make sure the "pretty" side of my fabric was always facing out, but you don't have to! Keep braiding until you've reached the end!


On this one- all I did was tie off the end! With all the different scraps sticking out- I think it looks kinda cute!


 Simple as that! 
Source: @threeyearsofdeath.blogspot.com/

Crafty jewelry: Reversible Ruffle Necklace

Reversible Ruffle Necklace 

I recently realized I wear a lot of turquoise colored clothes.  It might be just a little peek from a tank underneath a top or it might even be turquoise pants (yes, I have a pair!) but regardless of the item, you will see turquoise.  I woke up last week feeling like I needed some cute necklaces to match that little pop of color in my wardrobe.  Before you read this entire post, you need to first know that jewelry is not something I normally make for myself.  I don't have the right tools and my hardware selection is limited with out a craft supply store run.  With that in mind, I did my best with the tools and supplies I had on hand to create a pretty little reversible turquoise colored necklace. 

I love the look with the pearls!  But I also love that I have the option of wearing something simple too!  Just flip your necklace over and you have a pretty ruffly side with out the pearls! 
I started with a scrap of turquoise fabric.   
I cut a long strip from the fabric (mine was 29" x 2") and didn't bother hemming the sides. 
Next I picked some pearls and started stitching them in between several gathers in the fabric. 
I continued stitching the gathers and pearls until the entire strip was complete.
I knotted off my thread and then used a hole punch to make a small hole in the edge of each side of the strip of fabric (my hole was punched through two layers of fabric).
I attached a jump ring to the fabric and then attached a chain with a clasp.
Then I went grocery shopping with my new pretty necklace! 
Source: acoupleofcraftaddicts.blogspot.com

Crafty jewelry: Make a Fabric Covered Gem Necklace

Lately, fabric seems to be making its way into necklaces, earrings, bracelets – all kinds of accessories. I love that it can add an entirely different textureand look to a piece of jewelry. For this DIY, I incorporated fabric from a thrifted skirt with some plastic décor gems and chain to create a one of a kind necklace. Totally customizable and really easy to make!


Supplies:
- Plastic lightweight decorating gems*
- Scrap fabric (mine was 40 inches x 4 inches)**
- Thick chain
- Scissors
- Jewelry pliers
- Hot glue gun (optional)
*I used 7 gems. These can be found in the home décor section, and are usually used to fill vases.
**Make sure your fabric is thin, lightweight, and not too thick!
1. Tie a knot at one end, making sure there’s about an inch of fabric left above the knot. Place a gem in the tube that has formed. Make sure the fabric wraps around the entire gem, and tie another knot.
2. Insert another gem, and tie another knot.
3. Keep going! Again, make sure there’s about an inch left after the last knot.
4. Cut a slit in the fabric at each of the ends.
5. Tie onto the chain. Repeat at the other end. If you would like, use a little hot glue to further secure the knots.

jewelry making

Source: weheartthis.com

Crafty jewelry with cross stitch patterns

Fimo and yarn

IMG_1861
I get a little over excited sometimes when it comes to craft projects. An idea pops into my head and I immediately think it's THE BEST IDEA IN THE HISTORY OF EVER. Ok, so this one might not be all caps worthy but I thought it would look cool.
IMG_1870

White fimo (to look a bit like ceramic) shaped and then with holes poked in a grid then baked and stitched with traditional needlepoint or cross stitch patterns.
IMG_1863
I didn't quite like the shinyness of the embroidery floss (top image) so I dyed some wool crewel yarn with plant dyes. I like the muted colors and fuzzy textures better but ran out of chain link to make these wool ones into pendants like the floss one.
IMG_1877
So I was totally jazzed about these but every time I show them to someone their reaction is along the lines of, "Hmm...." Which is totally fine! Whatever floats your boat, right? But it makes me question my own taste in great ideas. Perhaps a bit of self editing is in order?
IMG_1880
Speaking of taste, I did determine that, although I still love this in concept, the execution wasn't quite there. These are pendants of thumb prints of my two kidlets. But the disk of fimo into which they pressed their thumbs was too large. And turns out babies don't have much of an actual thumb print--skin is too soft.
So, on that note of projects not well received, the baby is napping so I'm off to work on my next BEST IDEAS EVER IN THE HISTORY OF IDEAS. One is a quilt project and one is a series of mini books. Fun!
Source: underconstructionblog.typepad.com

Crafty jewelry: The Thimble Necklace Tutorial

Crafty jewelry: The Thimble Necklace Tutorial 
I've been thinking about this project for a very long time. Today it was sticky with heat and humidity and in the middle of  trying to get my house clean, I just dropped everything and did it. I absolutely love it. I love it so much, that I want to show you how to make it.


Supplies:
Sewing Pins in with the color heads you like
Metal Thimble
Coordinating threads. (my thread came from the edge of some fraying fabric I adore.)
Hot Glue Gun
Tiny Drill bit and Drill


Step One:
Drill a small whole directly below the lip of the thimble. Watch your fingers and go slow!


Step Two:
Fill the thimble 1/4 of the way with hot glue. Let the glue cool slightly and start placing your pins however you wish. I'm very much into pink right now, so most of my pink pins were towards the front. You need to work quickly to get them placed how you like them as the glue will cool quickly. Adding little bits of glue at a time, move your pins around until you are satisfied. Be careful not to hold onto the thimble as it will get very hot as you squeeze in more and more glue.

Step Three:
When your thimble is 3/4 of the way full, ball your threads and place them into the glue. You can use an extra pin to arrange the threads and make sure they are attached to the glue.

Step Four:
If you would like to attach your thimble charm to a chain you will need to place a ring in the hole you drilled. I opted to attach mine to a length of colored hemp with a simple loop through the hole.

Step Five:
Wear it with pride!

  If you don't want to make one yourself because of the heat and humidity at your house you can buy one here
http://www.etsy.com/listing/46867034/thimble-and-pin-charm
Source: thewindandthesail.blogspot.com

Recycling ideas: jewelry making

DIY rosette necklace


Snow Day everyone! We have a snowy day! That means no school for us Texans (don't laugh!) ^_^
I could have slept late but instead I got up and found things to do. I wish waking up early was as easy when I have to go to work, hmmm...
Today I have a tutorial for this rosette necklace, I told you I would put every inch of this vintage blazer to good use.


Ahh! Look at that lining!? Doesn't it just scream to you "Make me into a beautiful rosette necklace!"? It did to me.
Here is what you need:
lining material or old lining from an old jacket
needle & thread
glue gun
felt fabric
old pearl necklace (again you can substitute for ribbon)
pearl beads
candle, lighter or stove burner
scissors
I started by removing the lining from the blazer and then cutting many little circles 2-3 inches in diameter. You'll need about 5-7 lining circles for each rosette.
Use a candle to burn the borders (it's easier then the lighter), this will prevent the lining fabric from fraying and will also give the rosette an antiqued look.
 Here I have all the petals I made...
With needle and thread make small stitches in the middle of the petals.
 They will look like this from the front.
 After you have a few petals done stack them in order from largest to smallest and sew them together like so.

 Once they are all bound...
 sew a pearl bead in the middle.
 Place the rosettes on top of your felt fabric to calculate how large to cut the felt fabric.
  Trace the shape of the bib necklace, I used gray felt because I like the contrast of the colors.
 Cut a banana shape or a U shape bib (U shape looks better I later had to make a few stitches to make this bib more of a U shape, but it depends on the size of your necklace (measure first to see how you prefer it).
I had a vintage necklace that choked me so I cut it in half and took one pearl off from each end.
Stitch the ends of the necklace to the felt fabric for extra support. 
 Cut out little ovals to cover the stitches.
 Glue stitched ends of the necklace in place and then glue the covers on top.
 We are almost done...
 Arrange the rosettes the way you want them on your necklace and glue them to the felt fabric.
Enjoy your new upcycled necklace!
Source: modestyispretty.blogspot.com