Showing posts with label Video. Show all posts

How to making felt flower, video tutorial

How to making felt flower, video tutorial
 
Felt - is the oldest technique for obtaining textiles. Everyone is familiar with Russian boots, nomads of the wing blades felt their homes, felt hats - it is also felt.


What are the ways of felting?
There are two basic techniques of felting: wallow in the wet and wallow needles (filtsevanie). Often in complex products are used both techniques. For example, you can matted fabric (scarf, hat, mittens or a handbag) and then fill any pattern with a needle.


How do they differ?
They differ in the way of tangling the wool fibers. Needle felting to have a indent on the blade, they cling to the fiber and confuse them with each other. When on-wet felting, everything is different: lathered, wet fibers easily slide relative to each other and entangled, so that the finished product is then not will spread apart.


How to making felt flower, video tutorial


Read more: http://craft-craft.net/making-felt-flower-video-turial.html
Origami kusudama, origami hexagono fuxico, video tutorial

Origami kusudama, origami hexagono fuxico, video tutorial
Origami - kusudama

origami hexagono fuxico

Making polygons

CD case Hexagon A4

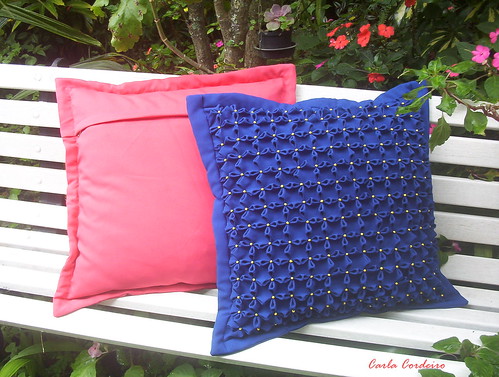
Beautiful Cushions with Canadian smocking, video tutorial

http://farm3.static.flickr.com/2778/4518905910_811107bcdb.jpg
Cushions with Canadian smocking
Created using YouTube App - Simply powerful video creation and editing. Create for free.
Almofada estampada em capitonê


Photo: http://www.google.com.vn/imgres?q=Almofada+estampada+em+capiton%C3%AA+%2B+flickr.com&um=1&hl=vi&biw=1267&bih=707&tbm=isch&tbnid=OpdzPO2tn206aM:&imgrefurl=http://www.flickr.com/photos/atelier_roslaine_lima/favorites/%3Fview%3Dsm&docid=mZc8ETEN6Yx8BM&itg=1&imgurl=http://farm3.static.flickr.com/2778/4518905910_811107bcdb.jpg&w=500&h=377&ei=RJ0LT7mFO6uQiAe9renjBQ&zoom=1&iact=rc&dur=11028&sig=103696976509872920645&page=1&tbnh=151&tbnw=217&start=0&ndsp=16&ved=1t:429,r:14,s:0&tx=101&ty=86

Hook, loop and lock, video tutorial

Hook, loop and lock, video tutorial

The kit includes:
Instructions with template pattern to make a 5 1/2"W x 6 1/2"H ornament
1, 5-mesh canvas square
15 yards Color Crazy Fabric Strips for body of tree
4 yards Color Crazy Fabric Strips for garland and hanging ribbon
10 Color Crazy Candy Drops (Resin Beads) in assorted colors and sizes, OR 6 Felt Beads in assorted colors
1 square batik velvety red fabric with adhesive “peel & stick” for backing
NOTE: locker hook and tapestry needle sold separately.
Quick Grip or other adhesive needs to be purchased separately

Color Crazy Locker Hooking - Episode 1
An introduction to locker hooking. Learn what you need to get started and all about supplies.


How to Make Locker Hooked Bangle Bracelets
Learn how to make locker hooked bangle bracelets.

Making a Locker Hooked Basket
Learn how to make a locker hooked basket using the "In the round" technique.


How to Make Locker Hooked Ornaments
Learn how to make locker hooked ornaments


Read more: http://make-handmade.com/2012/01/04/hook-loop-lock-video-tutorial/

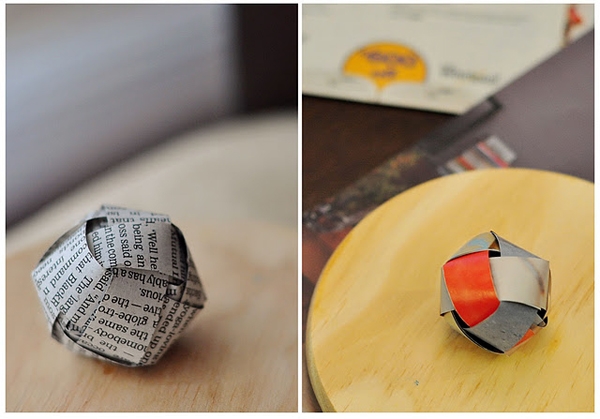
How to weave a leaf ball

Paper decorations very cute, and most importantly, they almost always improvised. Just below the photo and video instructions on how to make your own garland of paper balls and decorate the house for the new year that is already there. + Is that you can use recycled materials, so your "Seven Days" and "Around the World" in the past month will help you with this.

3655a4_thumb (600x419, 146Kb) 

How to weave a leaf ball. (Ball weave with paper tutorial) 


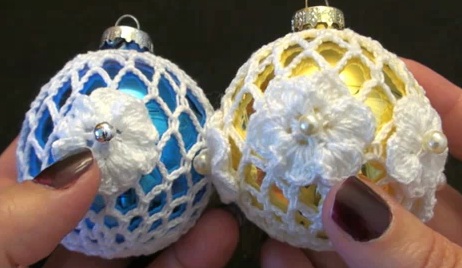
Christmas crochet ornaments for Christmas tree

ornnament (462x268, 45Kb) 
Christmas crochet ornaments for Christmas tree
Crochet Christmas ball and snowflakes, video tutorial


Christmas card with glossy plastic, video tutorial


thiệp bìa trong Làm thiệp với bìa bóng

Christmas crafts: Making Cards with glossy plastic, video tutorial

Required things:
1. Plastic sheet(s)
2. Printer (Laser or ink jet)
3. A Graphics program
4. A Knife or Scissors
5. Straight edge ruler
Following are the steps of making plastic card, let's see video tutorial


Embossing Stamped Images on Vellum

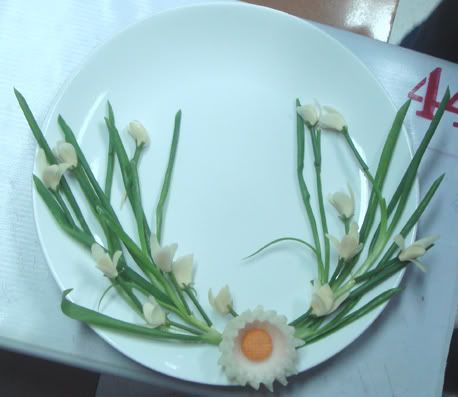
Carving tepal flower with garlic, video tutorial


Carving tepal flower with garlic, video tutorial


Material:
* Flattened garlic cloves (have three sides)
* Onions leaves or shallot leaves
* Curved knife blades & thin
* Toothpicks

Intruction:
Step 1. Carve a small petal in 3 sides. Using a knife slicing a thin layer on the surface of the garlic cloves. Top petals as thin and thicker cut down, 3mm-5mm from the base to stop.


Note that the dark side is not equal to the narrow side trim was chosen first. The remaining two edges so that the equivalent, not exceed the difference.

Step 2. Continue left sides of sliced ​​garlic cloves. Important not to cut off the knife edge.

Step 3. Sink the flower  in water for about 15-20 minutes to bloom the petals.
 
Step  4.  Select the onions leaves, toothpick inserted into the garlic and onion leaves to make stems body.


 Step 5. The top of the onion leaf cut into 3-4 parts to make sepals. Trim the leaves. We have the flower to decor for food.
it's very simple!
Carving tepal flower with garlic, video tutorial

Beautiful wedding hand bouquet, video tutorial

http://www.nzflower.co.nz/images/wedding_bouquet_brides_oriental_lily_white_med..jpghttp://www.dienhoanghean.vn/sites/h/ho/hoatuoihanoi/uploads/products/87xo9a5k.jpg

How to make wedding hand bouquet, video tutorial

 Material:
  • Lily flowers
  • Baby flower
  • Wire
  • White ribbon
  • Scissors
  • Tape
  • Silk sepals
Video Instruction:
http://www.hoangquantransport.com/images/catalog/Product/pro_979nhhc005.jpg

Beautiful wedding hand bouquet, video tutorial

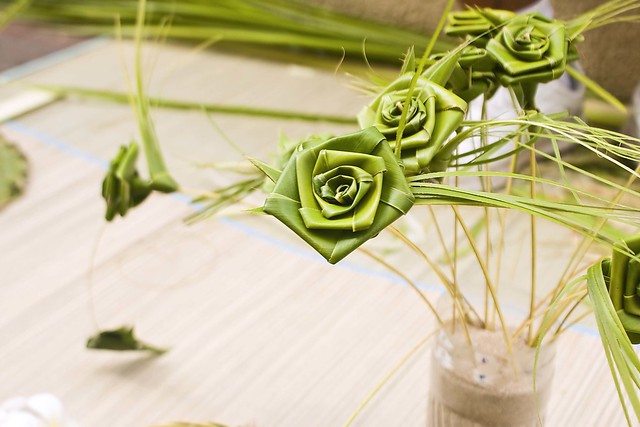
Easy coconut rose bouquet tutorial

photo

Easy coconut rose bouquet video tutorial

rose palm
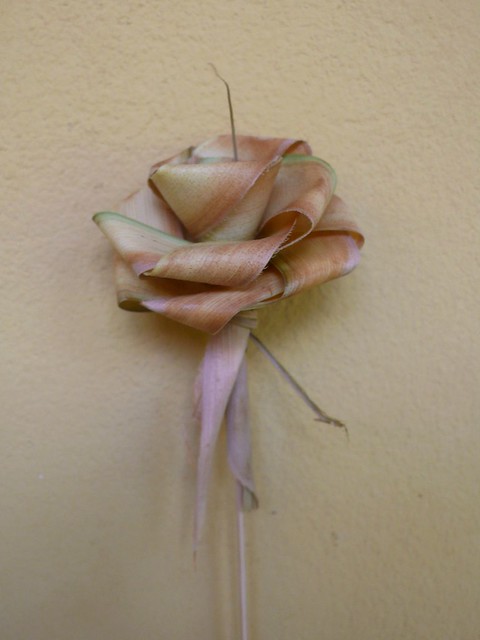
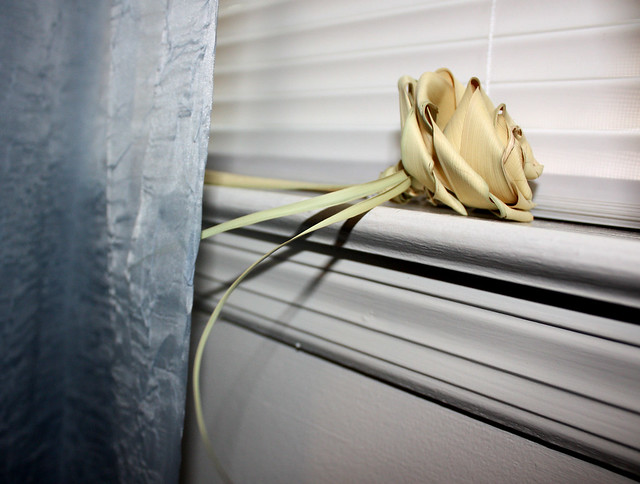
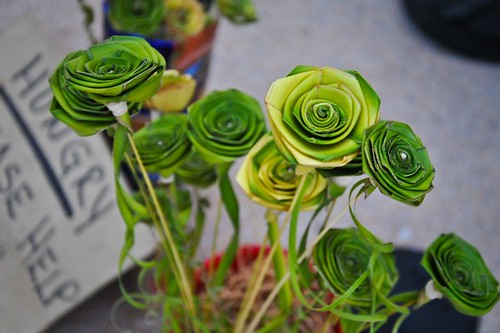
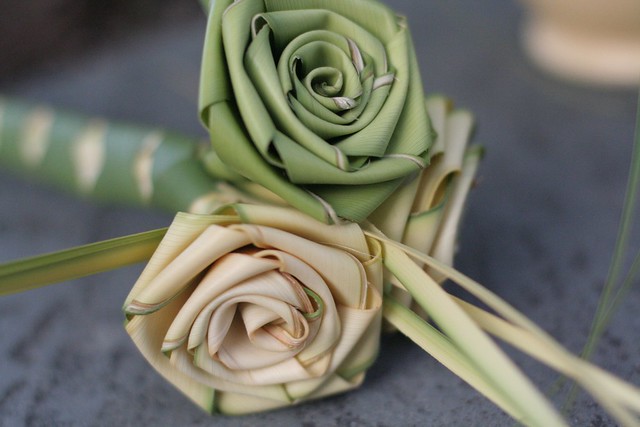
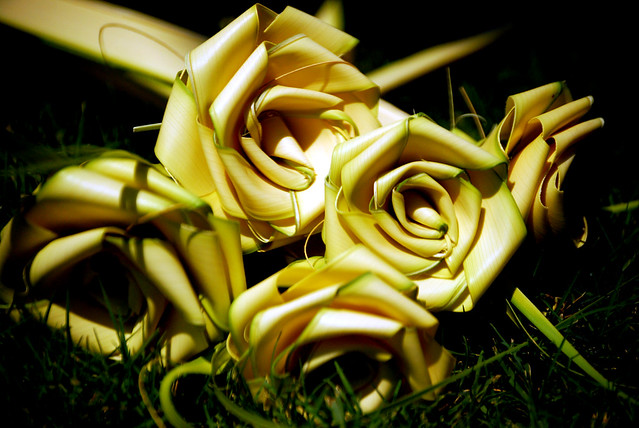
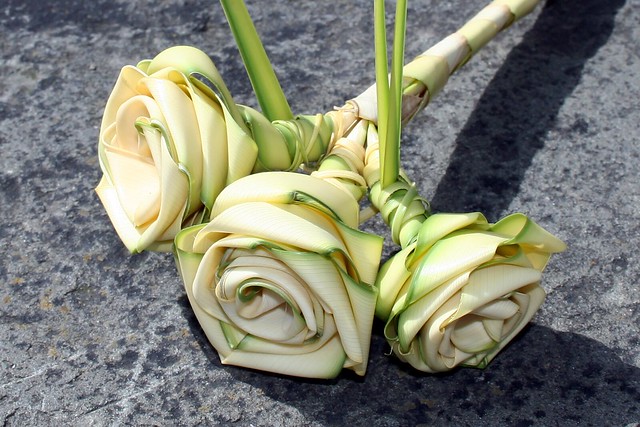
Palm roses are one type of craft made out of palm leaves for Palm Sunday. Palm Sunday is a Christian holiday that falls on the Sunday before Easter, marking Jesus's arrival in Jerusalem. Followers laid palms on the ground in front of him, which is why palm plays a central role in the holiday and its decorations.
You need 2 tapered leaves of equal length connected at the bottom. The rose will have a center only if the palm leaf is tapered and becomes smaller as you fold. The width of the palm can be up to 1/2" at the base.
Step 1: Beginning at about 2" from the base, fold one leaf back, slanting 45° to the left
Step 2: Fold the other leaf back, again at a 45° angle under it
Step 3: Fold the first under again continuing in in a counter-clockwise motion, bringing the "rose" as it is now appearing, over the front of the stem
Step 4: Since the palm is tapered, the rose begins to become smaller as you continue. When you feel you have a nice rose, secure the center with a pin or inserting the ends into the weave. You can either trim the ends, or let ends spin off. The center of the rose can be decorated with sequins, a tiny ribbon, or just a knot. It does not need to be decorated if done well. Roses look nice alone or in a bouquet of roses. A palm rose bouquet is welcome as a gift to the person who has everything money can buy! If hung on the wall, the roses can open and hang down, forming a nice spiral. Some leave the folds tufted, not pulled tight, for a rounded effect.
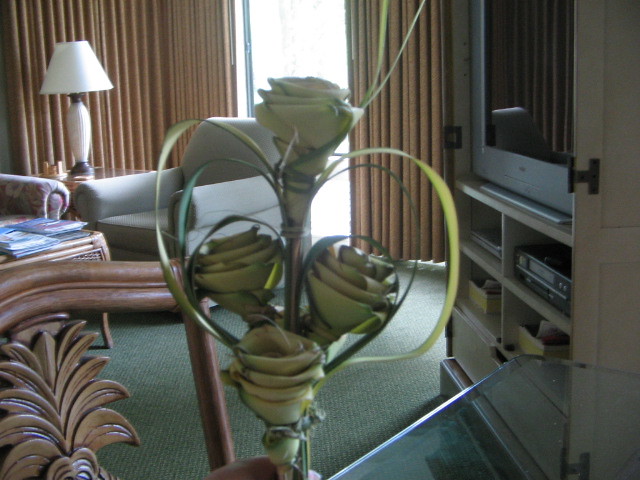
Step 5: to make a bouquet, you make about 20 roses and make a bouquet.
photo


The hands of the rosemaker

Photo: http://flickr.com