Showing posts with label gifts. Show all posts

Recycling paper for gift box: the casket out of the reel of tape

Recycling paper for gift box:  the casket out of the reel of tape

That's what it was ..


It kept the wedding ring))


Decorated fabric, also used the satin ribbons, beads and lace)
Here's a post .. lots and lots of photos of work)
Have a great evening!

Read more: http://lappp.blogspot.com/search?updated-max=2011-05-11T09:57:00-07:00&max-results=7

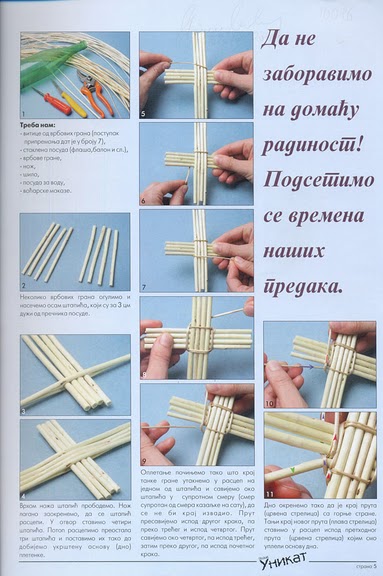
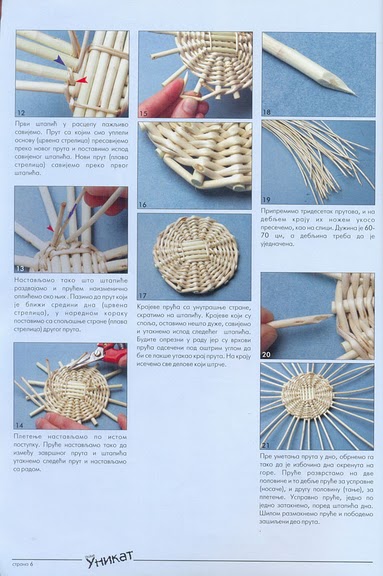
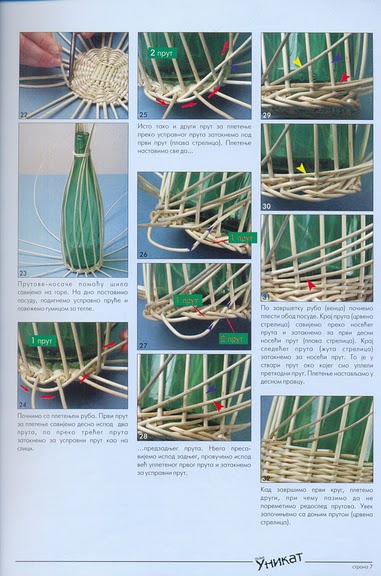
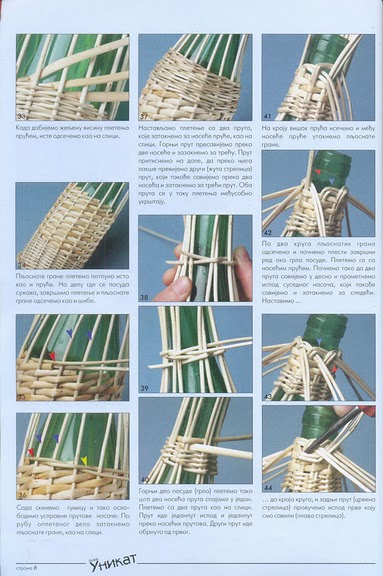
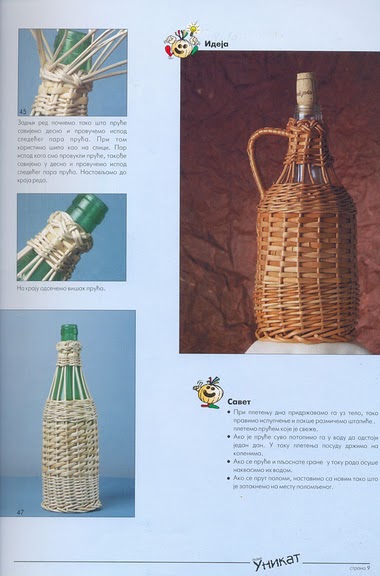
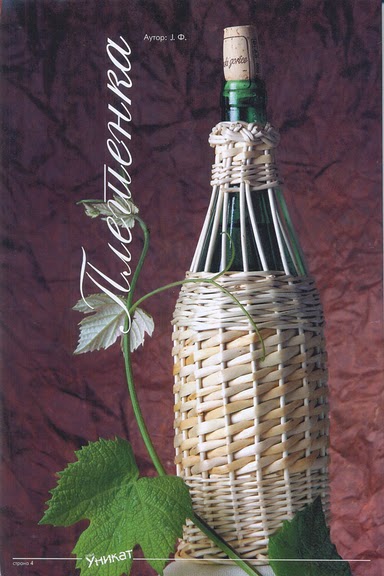
Weaving for wine bottle, tutorial

decoration bottle:
Weaving for wine bottle, tutorial


 (384x576, 59Kb)
 (383x576, 66Kb)
 (383x576, 66Kb)
 (381x576, 72Kb)
 (383x576, 72Kb)
 (380x576, 49Kb)

Gift Box Patterns: Triangle box tutorial

If you're looking for great gift box patterns, try this unique triangle shaped box made with a greeting card. You can either recycle an old card or use a new one.
Triangle Gift Box Patterns
The triangle box is so quick and easy you can make several in half an hour. Even better, you can teach your kids to make them, too.One thing I discovered when making a triangle box is that it really doesn't work to make one with a square. After you've made all the folds, you have a huge gap in the top so that you can't close it completely.
Triangle Gift Box Patterns
So you really want your card as rectangular as possible. I actually cut a little off each side to make the opened card less square and more rectangular.
gift box patterns
Also, you need a card with a horizontal picture to make this project. If the picture on the front is vertical, these gift box patterns won't work.
What you need:
Horizontal Card
Ruler
Scissors
Pencil
Scoring Tool
Hole Punch
Ribbon, Yarn, or Twine (to tie the top shut)
What you do:
!. Open card to be sure it is more rectangular than square. If not, cut off half an inch or more on the sides, being sure not to spoil the design on the front.
2. Use the crease as the center of each side. Mark the center on top and bottom edges.
3. Using a straight edge, score from center side to center top on each side. Then score from center side to center bottom on each side.
Triangle Gift Box Patterns
4. Crease each score line, and then fold the triangle box on its original center crease line bringing all the corners together at the top.
Triangle Gift Box Patterns
5. Punch holes as shown. Close the box entirely and punch through 2 or 4 thicknesses at once, making sure all the holes line up.
Triangle Gift Box Patterns
6. Thread yarn, ribbon, or twine through all the holes and tie in a bow.
triangle gift box patterns  
Gift Box Patterns: Triangle box tutorial
Baby favor: flower hairclip, Six ways with felt flowers tutorial

Baby favor: flower hairclip, Six ways with felt flowers tutorial
I have been having a lot of fun making felt flowers recently and thought I would show you 6 different ways you can use them too. I have more ideas as well so may do another post in a little while with more suggestions.
1. Stick them to the end of a pencil for a cute little pencil cup garden.
2. Attach to a hairclip for a little (or not so little) girl.
3. Attach to an elastic band to put around a gift box
4. Glue to a gift tag.
5. Attach to a jumbo paper clip for keeping papers together or as a bookmark.
6. Glue to a paper covered clothespin (you could add a strong magnet to the back of the clothespin too).

Happy felt flower making!

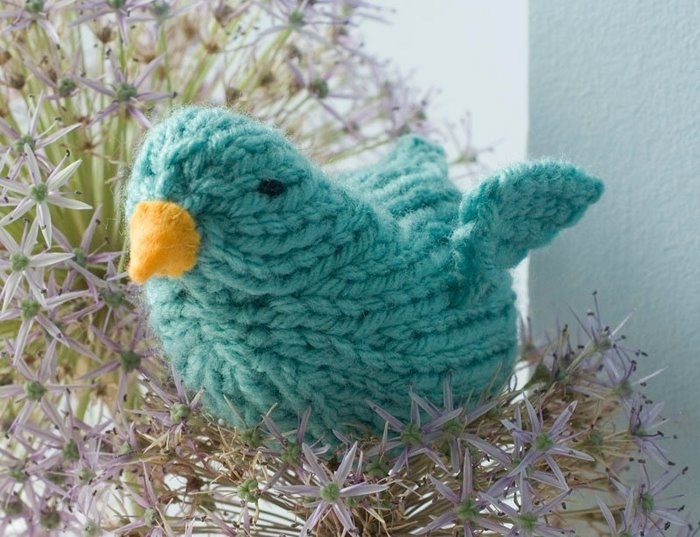
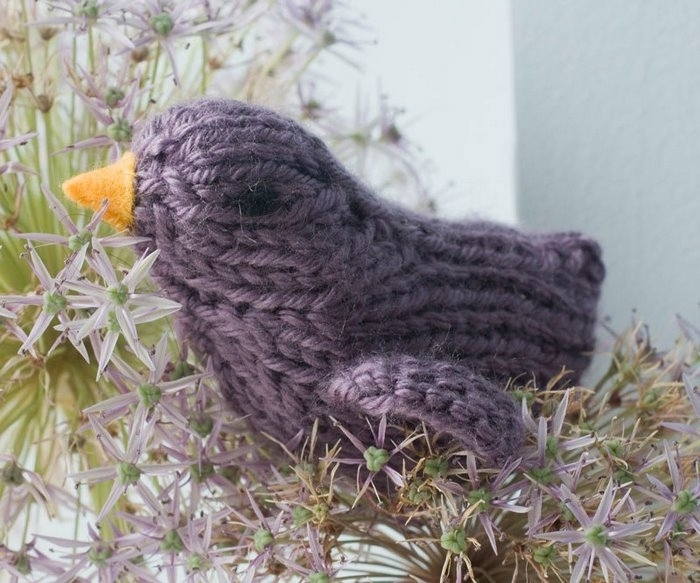
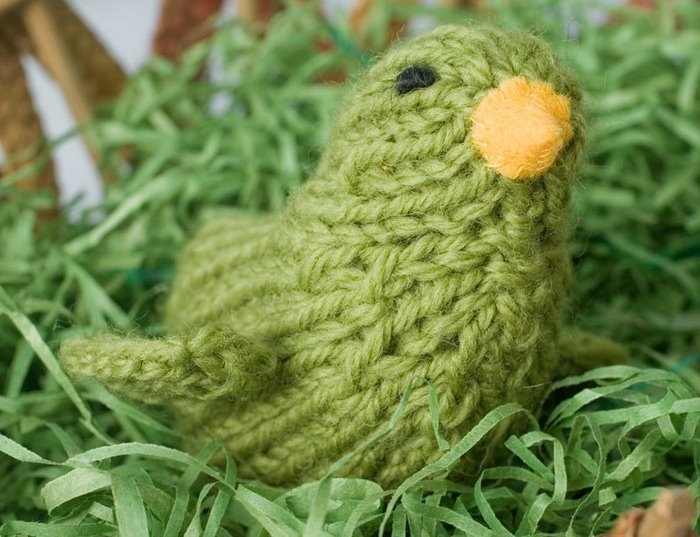
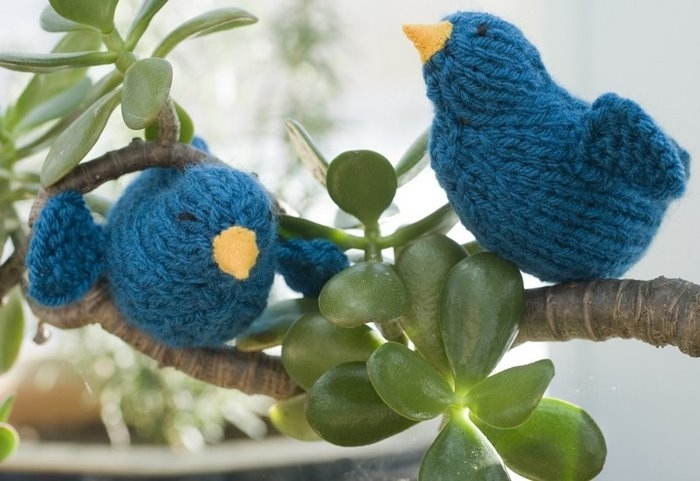
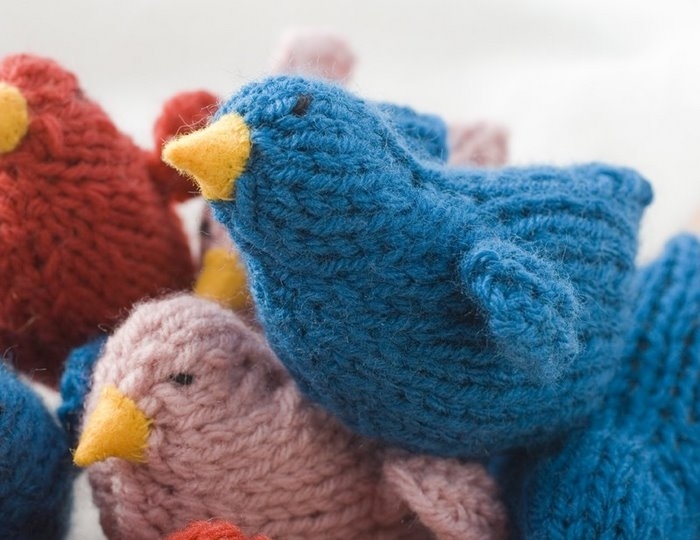
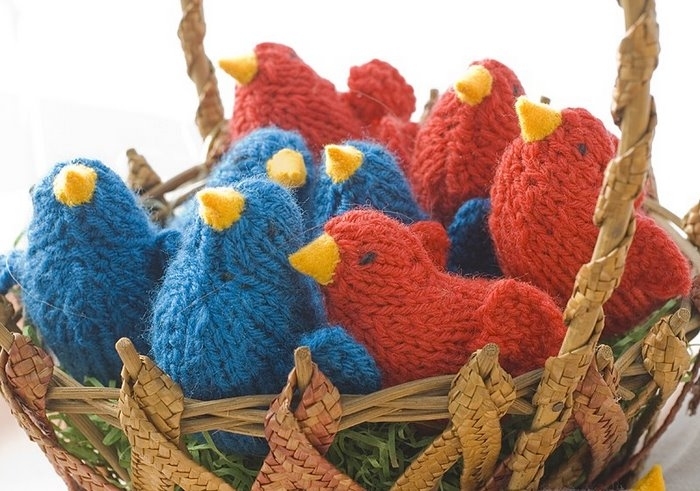
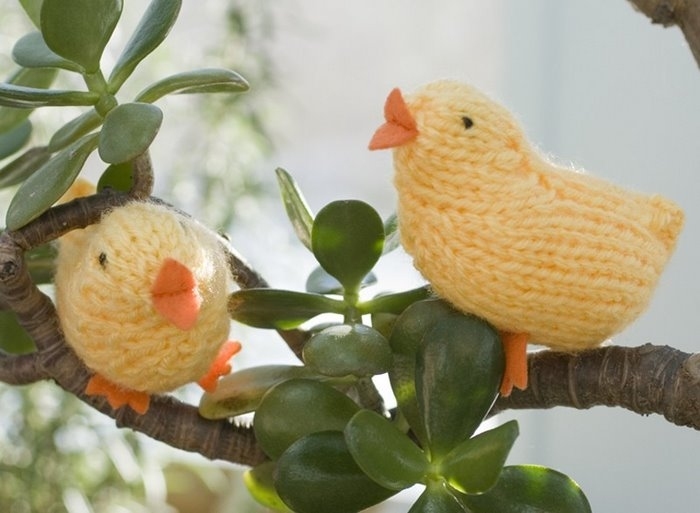
Easter gifts: chicks amigurumi

Knitting patterns: no charts


1. 
2. 
3. 
4. 
5. 
6. 
7. 
8. 
9. 
10. 

Ornament craft for Christmas tree tutorial


PATCHWORK
Silk ball flower tutorial


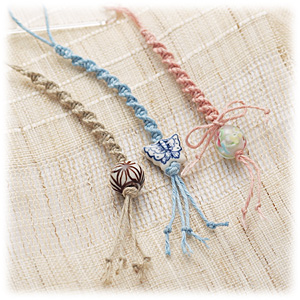
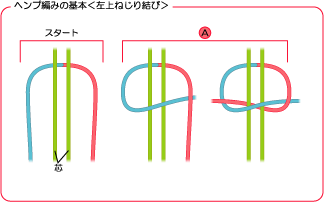
Easy Key chain for kids


ornament can be hung on the bag, phone, clothes


Gifts for mum: Wet-Felted Acorn Cap Pincushion Tutorial


Here is the back story for this teeny-tiny project.  We have lived here for four years.  The ancient oak trees on the property have not yielded a single acorn in all that time.  This morning I spotted what I thought was a large wooden bead.  But it was not a large wooden bead.  It was one of these:
Acorn pincushion aug 2008 001
Look at them, will ya!  They are whoppers.  And so, I decided to make the wet-felted pincushion I've always had in the back of my mind.
The pithy directions, ala Elizabeth Zimmerman are:  make an acorn-sized bead out of wool fleece and glue on an acorn cap.  The step-by-step tutorial follows:
Materials:  Suitably colored wool fleece, water, liquid soap, tacky glue, large acorn cap
Equipment: Bowl, access to a sink

Acorn pincushion aug 2008 002


Take a fluff of suitably-colored wool fleece.  It measures about 2 1/2 x 2 1/2 x 1 inch.

Acorn pincushion aug 2008 003


Roll the fleece into a loose ball.


Acorn pincushion aug 2008 004

Dip this ball into warm water to which you have added a few drops of soap.  Now comes the only tricky part of the process.  Gently toss the sodden fleece from hand to hand.  If you are too vigorous at this stage, you will not get a nice smooth bead, you will get a felt brain.


Acorn pincushion aug 2008 005
After a minute or two of the gentle tossing, you will notice that a "skin" forms.  You can start rolling the ball between your palms, in the manner of rolling cookie dough.  The woolen bead is fairly malliable at this stage of the game, use enough pressure to compress the wool into an acorn size and shape.  Take this shape to the sink and rinse for a minute with alternating hot and cold water.  This process is called fulling.  You should feel the bead get slightly harder as you do this..

Acorn pincushion aug 2008 007


Put a squirt of tacky glue in an acorn cap and place the cap onto the woolen bead.


Acorn pincushion aug 2008 008

Can you spot the the imposter?


I think it makes a dandy little pincushion:
Acorn pincushion aug 2008 009
Source: yourstilniagarafalls.typepad.com