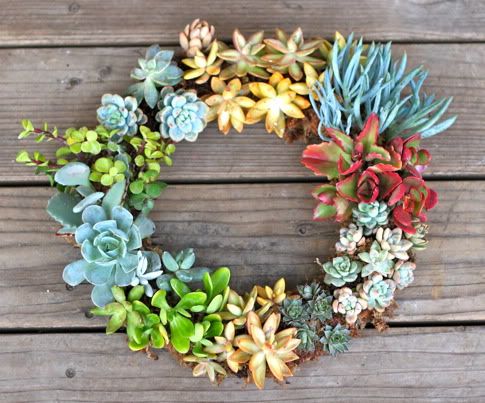
Eco gifts: Simple & Stunning Living Succulent Wreath tutorial
This succulent wreath is so easy & inexpensive, and it stays alive all year round! I saw a gorg version on the cover of the new Viva Terra catalog and I knew I had to make one, cause I don't have $100 to spend on a plant.
My house is filled with succulents, one of the many bonuses of being a BFF of afabulous succulent designer. She taught me that you can just chop off a bit of a living succulent and it will grow into a new plant! So that's what I did, clipped from living plants (I might have taken a few from a local park, if it doesn't kill the plant that's not stealing right?), and arranged into this living wreath.
Total cost was about $10 and once the cuttings were dry, the assembly of the wreath took one nap time (an hour and a half). I really hope you like this and give it a try.
Learn How to Make A Living Succulent Wreath after the jump...
And remember to leave a comment, because our fave commenter of the week wins five gorgeous embroidery patterns!
How to Make A Living Succulent Wreath
Materials you will need to make a succulent wreath:
-A wreath frame
-Sphagnum moss
-Floral wire or plain old fishing wire (I used fishing wire)
-Floral pins or just paperclips or bobby pins that you bend (I used bobby pins)
-Rooting hormone
-Succulent clippings (you could buy succulents, but why?)
Notes in response to a few questions in the comments: yes, the wreath is alive and will continue to grow. To keep it healthy, just spritz it with a spray bottle of water occasionally and make sure it gets some sun. The easiest way to kill a succulent is too much water, but you won't have that problem with the great drainage the wreath provides.
Succulent Wreath Instructions:
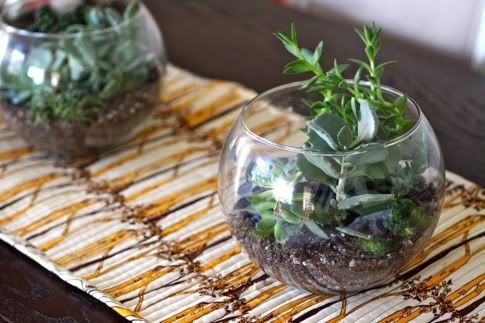
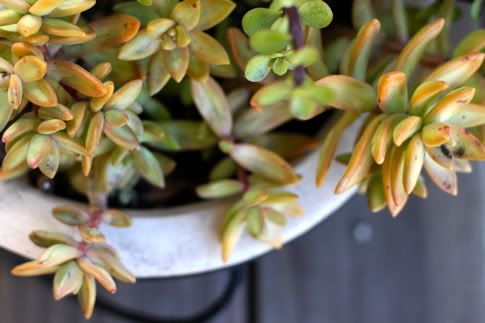
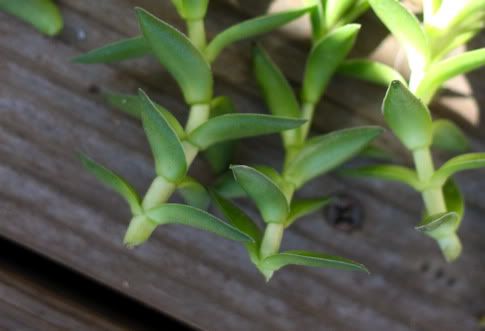
First we cut some clippings from living succulents. I clipped from the arrangement in my living room:
On my dining table (yes, that's the Bias Tape Table Runner again):
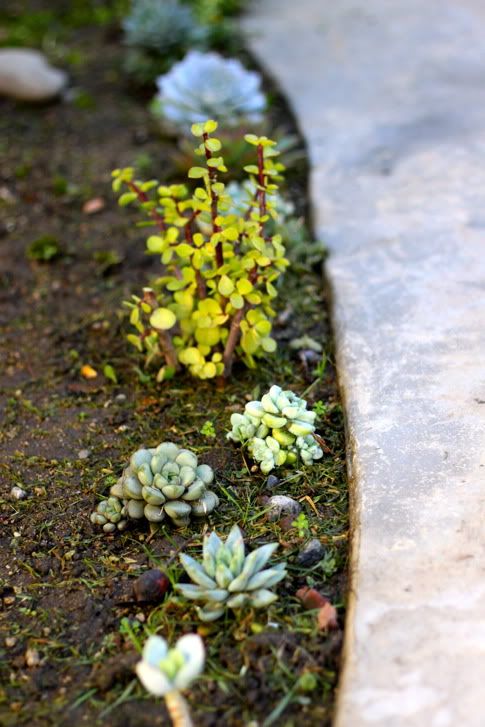
From the front yard:
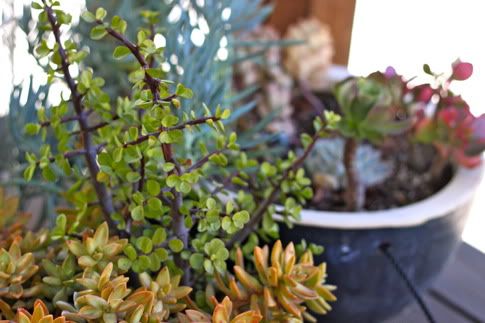
And from the back porch:
To clip, just grab a branch or a stem and cut. You can even regrow a succulent just from one leaf, but that will take longer so your wreath won't look as full right away. It is pretty to have some "flower" looking succulents on your wreath, so on many I just cut right off the top.
This is after I cut several stems off. The plant doesn't look any worse for the wear, right? So cut away!
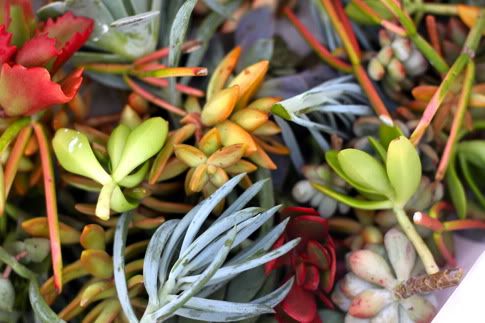
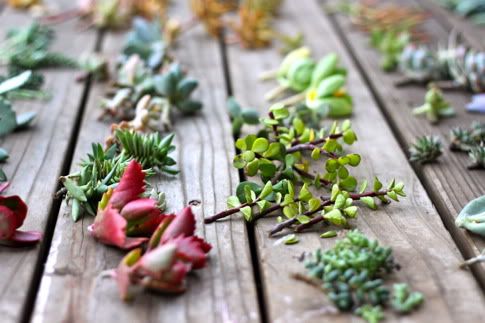
I threw all of my clippings into a bag as I gathered them:
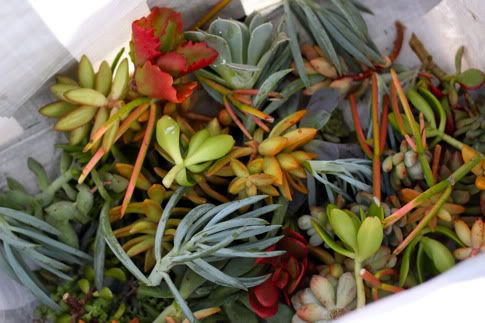
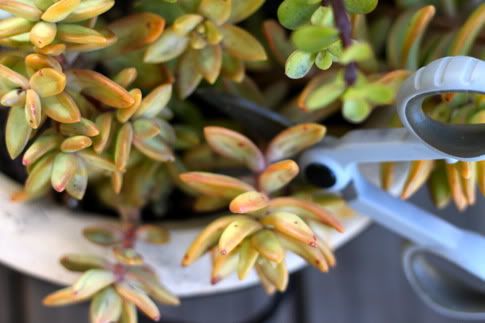
Ohhhh, they're so pretty.
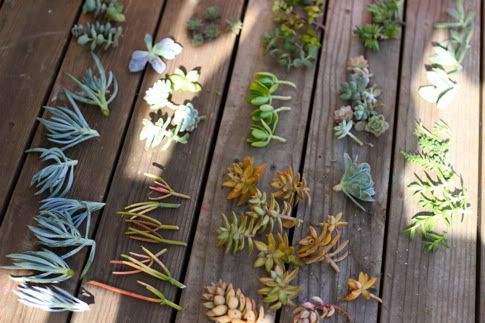
Now take them out and lay them somewhere for a few days. The end of the stem where you cut will be moist right after you cut. So you want to let them sit somewhere to dry until a dry scab forms on the bottom. Depending on the air where you live and the plant this could take 2-7 days. This will not kill the plant. This is setting it up to grow again!
Some of your clippings will have leaves all the way down to the end like this:
That is going to make it hard to plant the clippings, so go ahead and remove some of the leaves closer to the end:
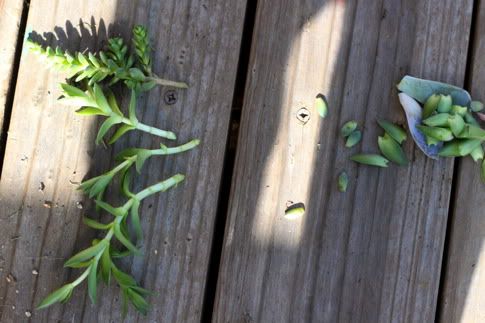
Take those leaves and stick them wet-side-down into soil, they will grow into new plants eventually!
OK, we waited and now our clippings have scabs, the ends are dry.
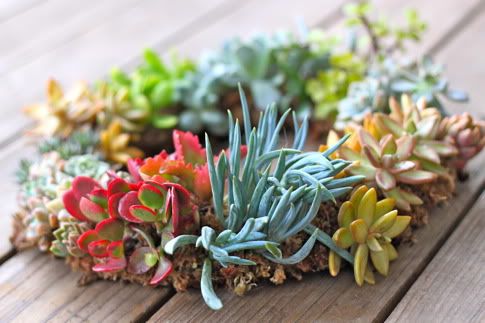
Time to assemble our wreath!
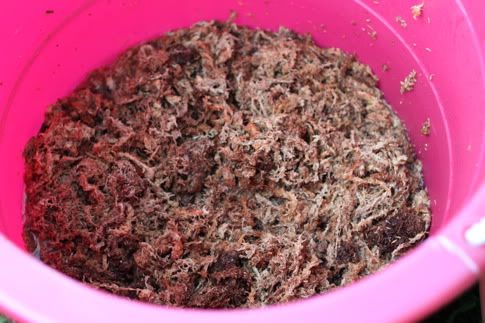
So get out your wreath frame and spaghnum moss. Moisten the moss in a bowl or bucket for 5-10 minutes until it is fully wet.
Now stuff that wreath frame full of moss really tight from the back.
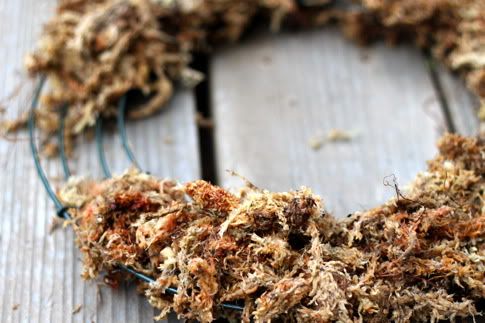
Now use floral wire or plain old fishing wire to wrap the frame and moss, just to make sure it holds.

Now turn your frame over. See how you can still see the frame on the front?

Add another layer of moss to cover and wrap with fishing line again. You can't even see the fishing line when you're done:

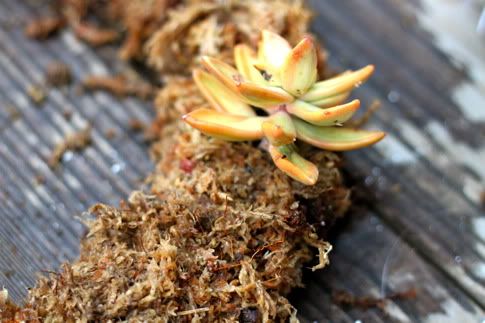
Now we are ready to start our succulent-designing! Start with the bigger clippings, the more unusual clippings that you only have one or two of. Make a hole in the moss with a pencil or stick or something pointy:
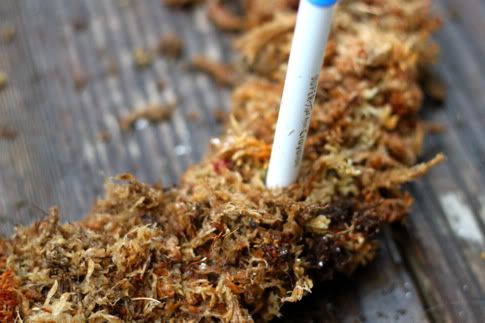
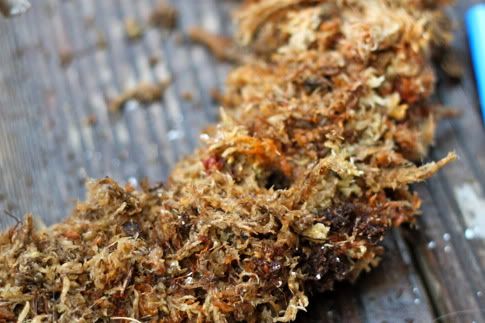
There's the hole:
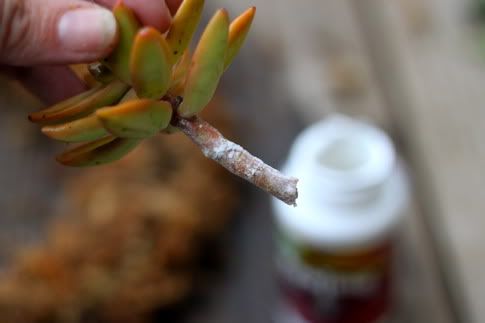
Dip your succulent in rooting hormone. You don't HAVE to use rooting hormone, but it does help the cutting take root in your wreath:
If your succulent has a short stem or doesn't feel fully secure, you'll need to secure it in place in order to hang your wreath. I used bobby pins, you could also use floral pins or a bent paperclip. So just bend it a bit:
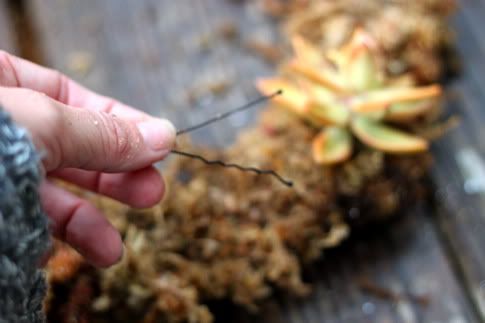
You don't want to pierce the succulent, you want to go around it to hold it in place. You could actually skip using any attachment at all, but then you will have to leave your wreath laying flat until the roots start growing on your clippings, which will take 3-6 months. So slip the bobby pin around the stem. You won't even notice it:
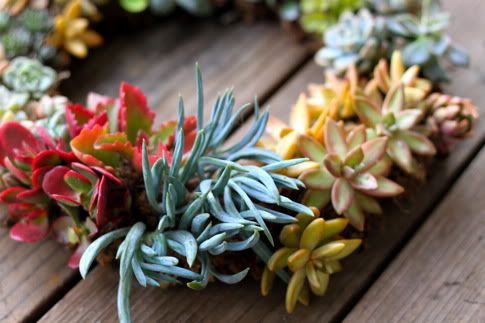
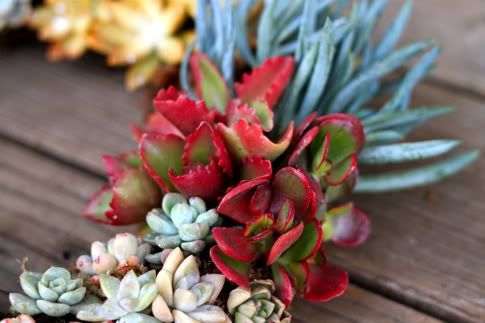
Putting groupings of the same plant next to each other looks nice, at least 3 or 4.
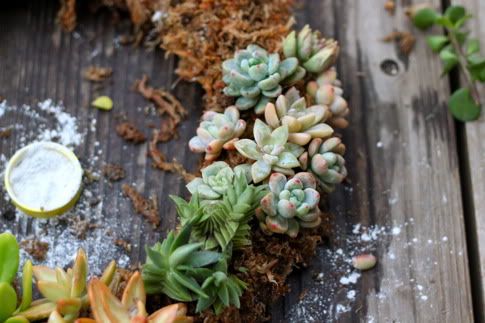
You really can't go wrong with how you arrange succulents. There are some pretty ones that are green with red tips (no idea what they are called sorry), if you had a lot of those, that would make a gorgeous christmas wreath:
As you plant your clippings, leave a little room for them to grow, don't pack them in too tight. In a year your wreath will be much fuller than it is now, so keep that in mind. Make sure to stand it up every now and then to get a feel for how it looks when hanging. So keep adding:
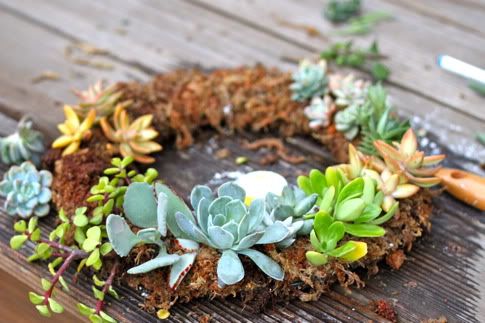
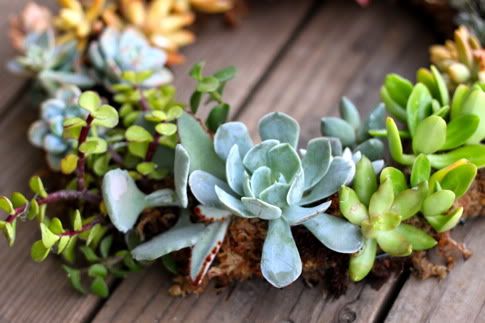
Until you feel like it's done!
So if you used pins, you can let it dry a bit, then go hang that baby! Or you can set it in the center of your dining table, or outside somewhere. It's so versatile and so beautiful and you made that thing yourself! You go girl!
 By mid summer they start to bloom and on the