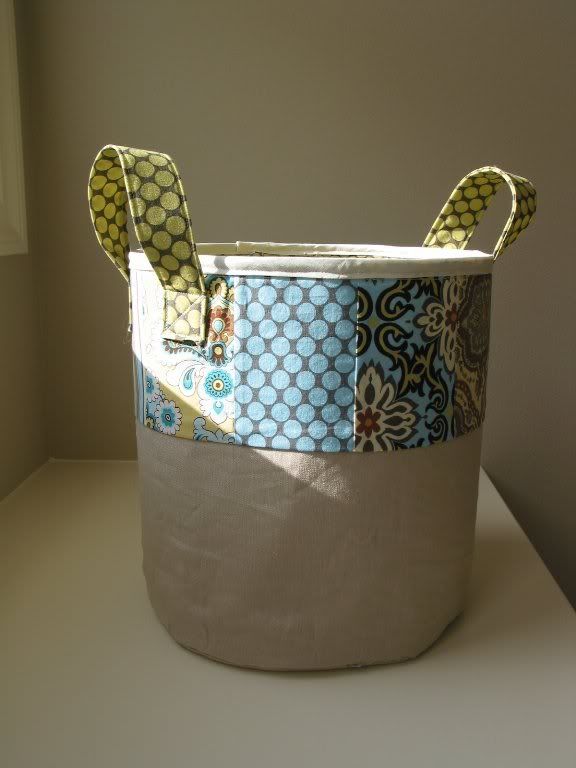
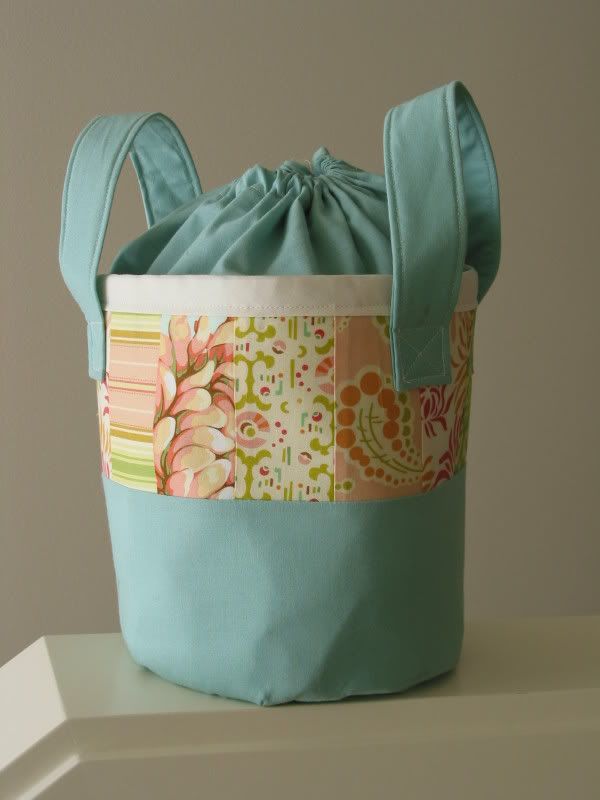
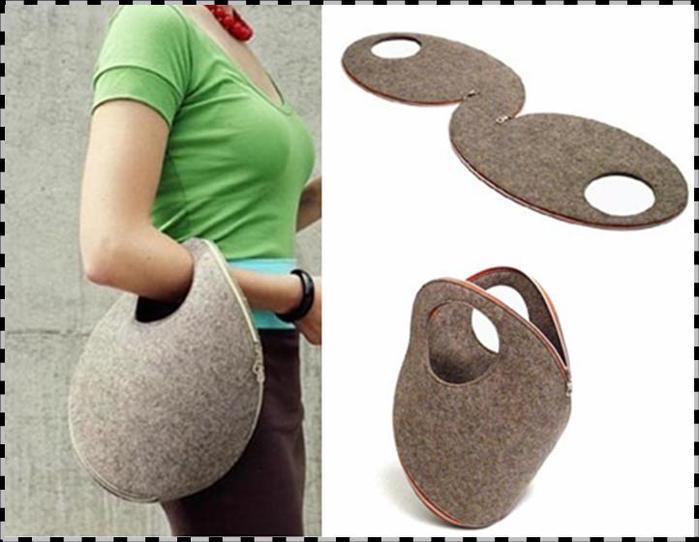
First off, thank you Claudine for posting her inspirational bag.
Full credit must also go to Diana. She and I worked through the first bag together and her guidance was invaluable. If you’re a knitter, make sure to check out her amazing FREE knitting patterns.
And finally, thanks susankg53 for the name…it’s perfect!
This is a great project for your scraps and I hope you have fun with it. As I’ve stated before, I am NOT an expert seamstress by any means, so I’m sure I’m doing things bass ackwards all over the place.
I would love love LOVE to see what you come up with.
This is a long tutorial with a fair number of pics. If anything is unclear, please email me (foofanagle at gmail dot com) and I’ll be happy to clarify. For those of you who are quick and crafty, here’s a summary of the steps…it may be all you need.
SUMMARY
Cut and assemble pieces
Sew basket (bottom, side, together)
Sew handles and add to basket
Add trim to pocket, sew pocket to inside lining, sew pockets
Iron drawstring flap and sew down top ends for neat drawstring opening
Sew down drawstring flap
Sew drawstring bottom to interior lining top
Sew lining to basket
Trim top of Bagsket and thread drawstring
Ta da!
Read on for the full tutorial in all of it’s badly photographed glory. (you can click on the photos to see a larger version)
Did I mention I’d love to see any bags you make using this tutorial?
::Bagsket – The Tutorial::
PIECES (for a bag that approx. 8 inches in diameter and 8.5 inches tall – for 12in diameter bag, see bottom of post)
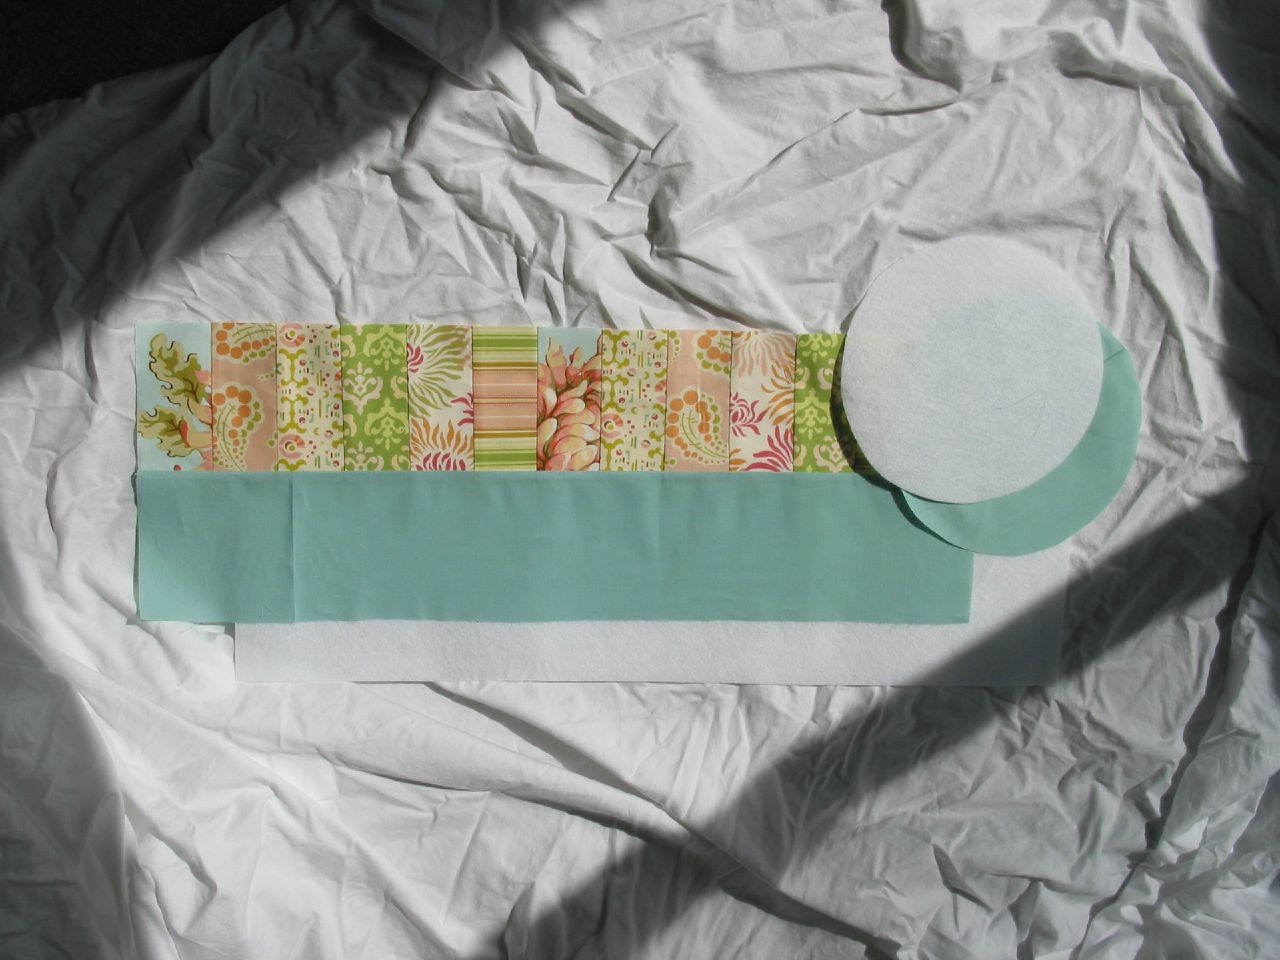
Basket
9 inch circle of interfacing
9 inch circle of exterior fabric
29.3in x 9in interfacing
29.3in x 9in exterior fabric (top pieced strip = 29.3in x 4.5 in and bottom exterior strip = 29.3in x 5.5 in sewn together lengthwise with a ½ inch seam allowance.)
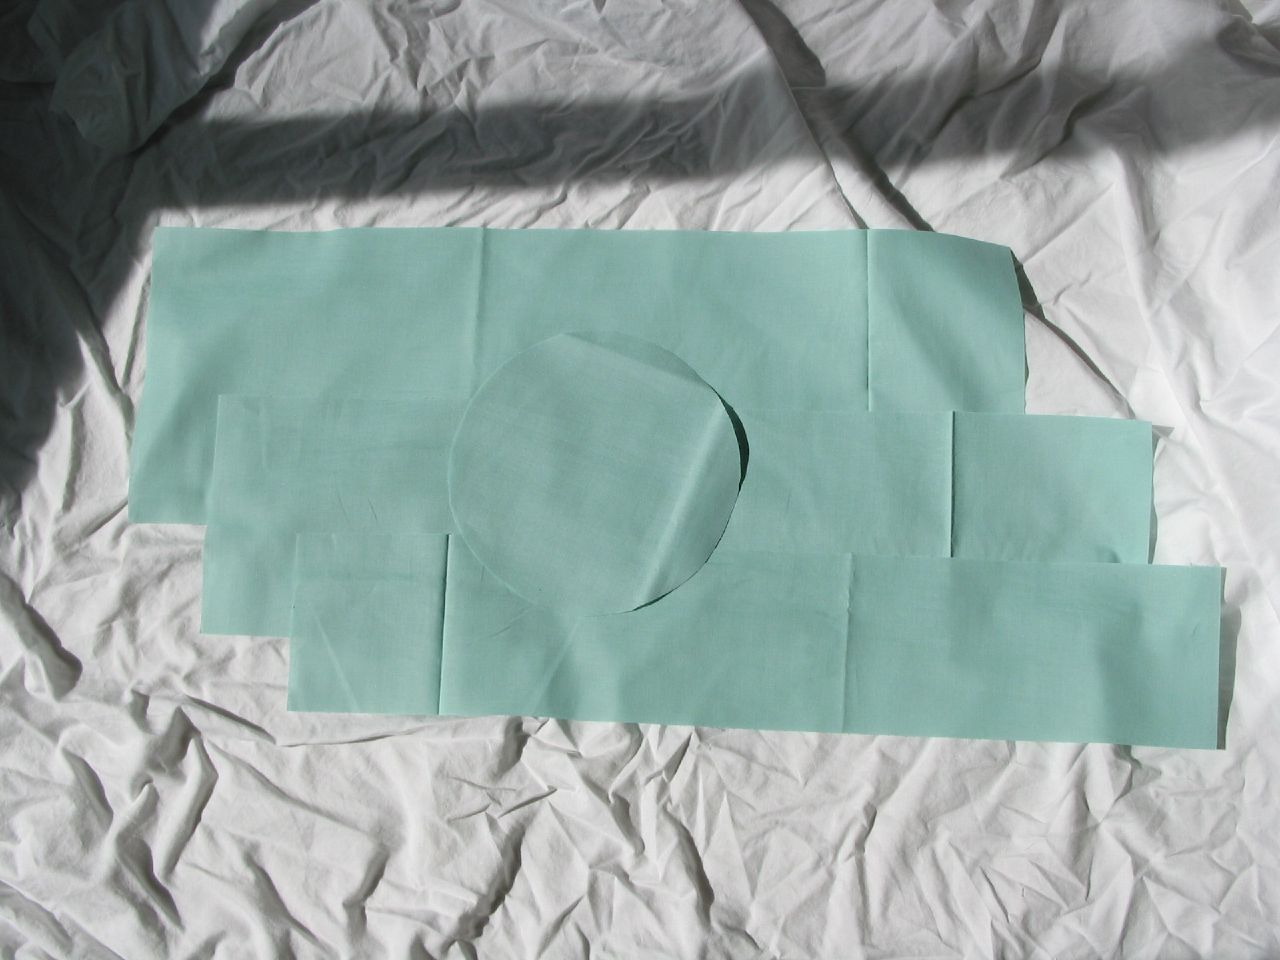
Bag
9 inch circle of interior fabric
29.3in x 9in interior fabric
29.3in x 4.5in interior fabric (pocket)
30.3in x 7in interior fabric (drawstring top)
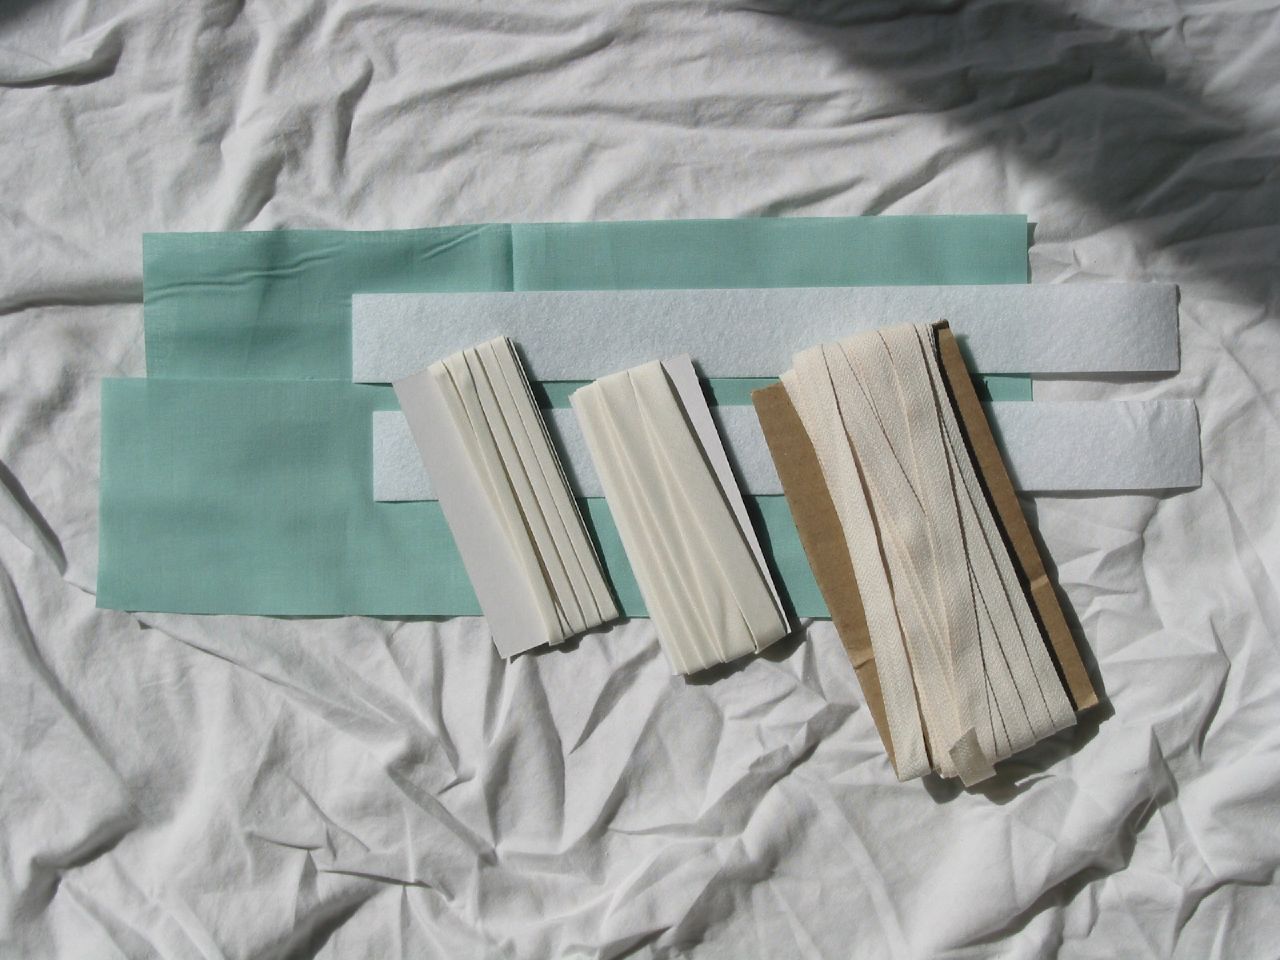
Handles/Trim
2in x 15in (x4) of handle fabric
2in x 14in (x2) of interfacing
30 in of pocket lining double-fold trim
30 in of exterior top double-fold trim
30 in of rickrack, ribbon or trim
NOTES
Use a heavy interfacing like Timtex. I didn’t make it fusible, but that could potentially help when sewing the fabric to the interfacing.
Seam allowances for basting and seaming are different to ensure basting stitches don’t show
PUT IT ALL TOGETHER
Assemble your pieced strip. Have fun with this. It doesn’t really matter how many fabrics or angles etc that you use as long as you end up with the correct sized piece at the end. You can make the whole exterior pieced or use just two fabrics and on and on. If desired, sew decorative trim to exterior fabric. Play now (because the rest is a bit of work!)
Basket Construction:
Pin exterior bottom fabric to interfacing circle (wrong side of fabric to interfacing)
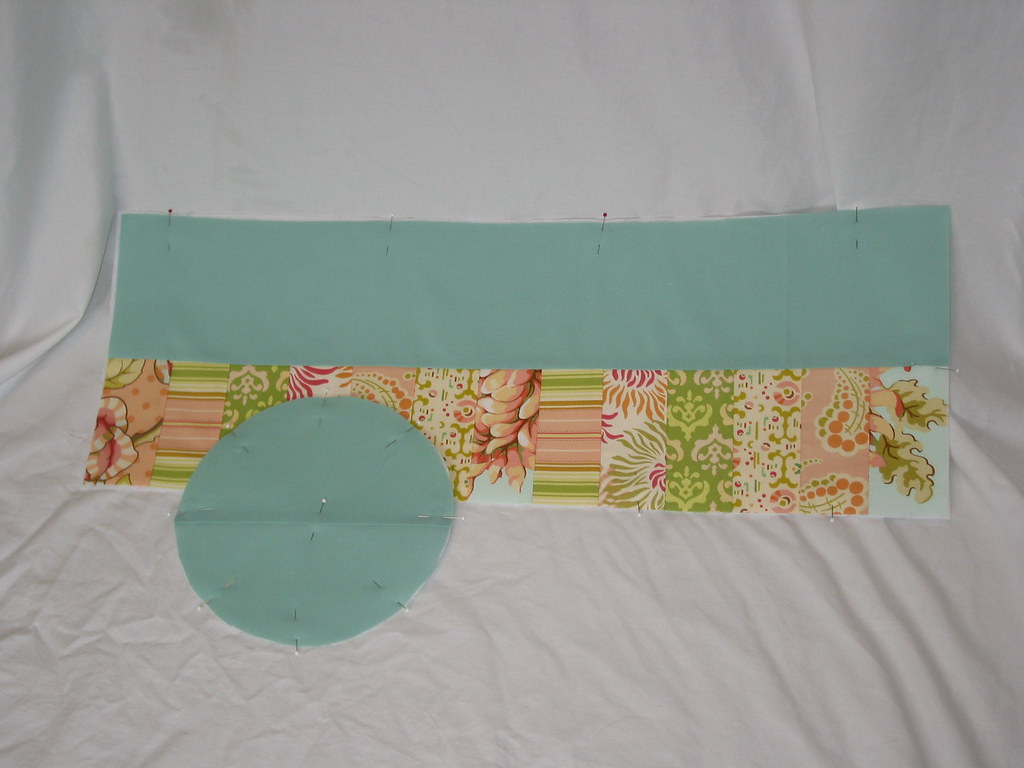
Baste together with a 1/3in seam allowance. We’re basically just holding the fabric to the interfacing. If you have fusible interfacing, you can skip the basting.
Pin exterior fabric to the interfacing rectangle
Baste together with a 1/3in seam allowance
With right sides facing, pin and sew the short ends of the side piece together with a ½ in seam allowance, forming a cylinder
Press seam to one side
Mark the 4 points on both the bottom and side piece.
(You can fold the circle/cylinder in half, mark the crease at each end, open and refold so the pins are together and mark the creases again.)
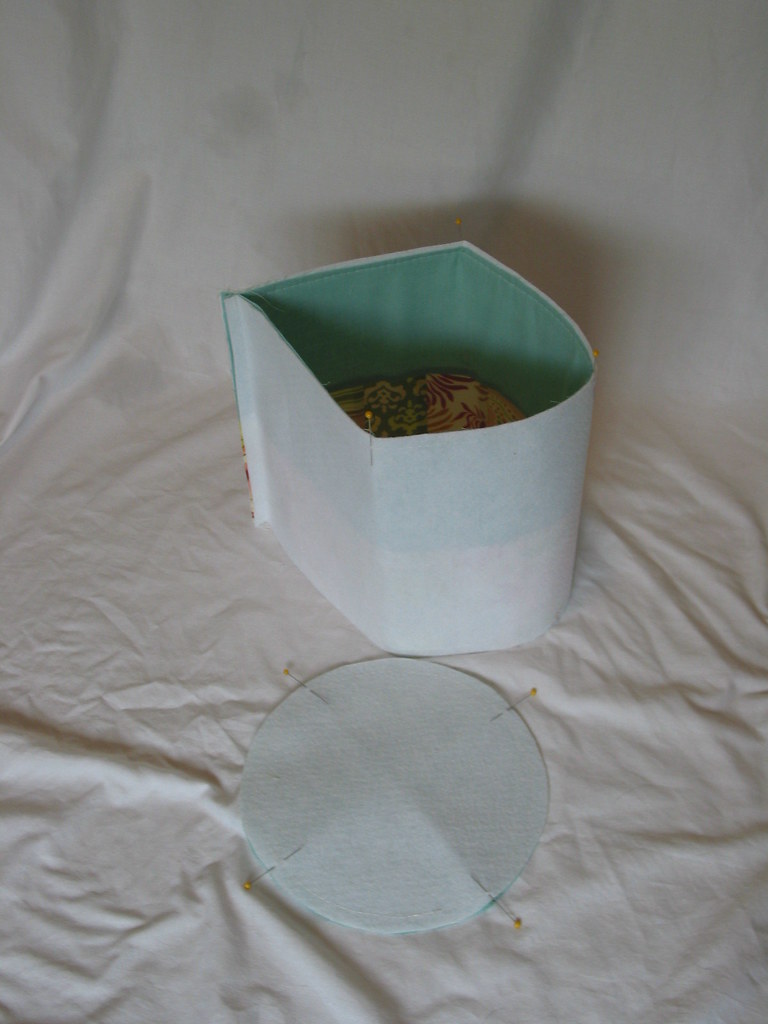
Line up a pin on the bottom with a pin on the side and pin together (making sure the interfacing side is on the outside on both the side and bottom)
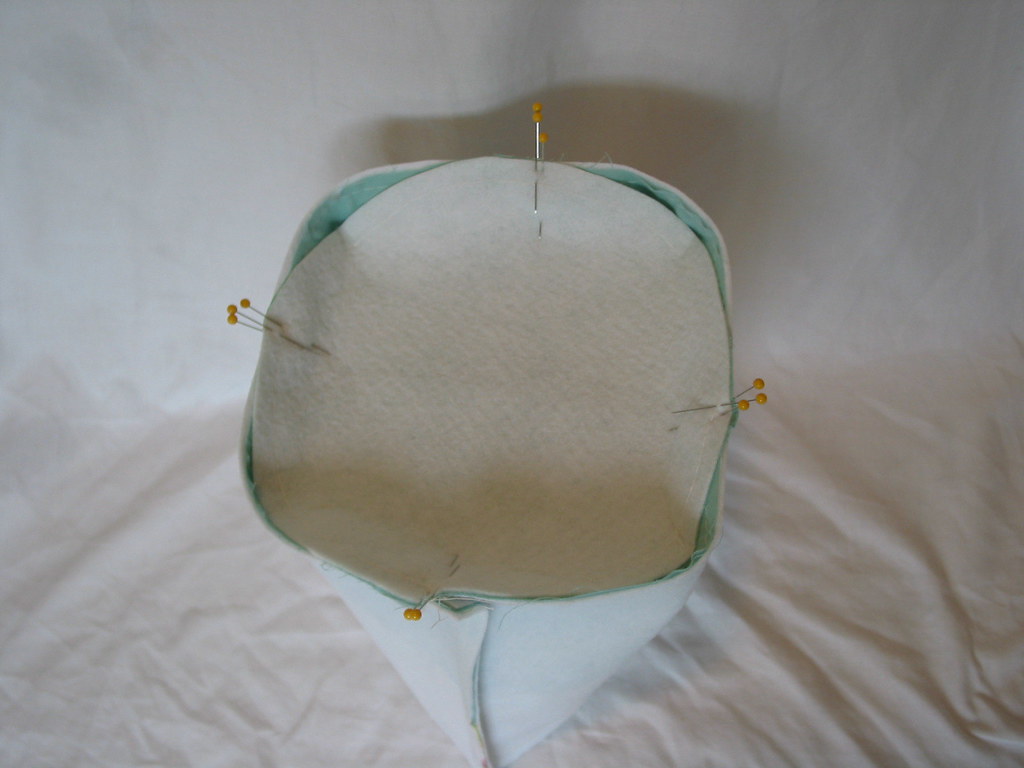
Line up the remaining markers and pin the bottom to the side. Pin generously to ensure the pieces don’t slip apart as you sew.
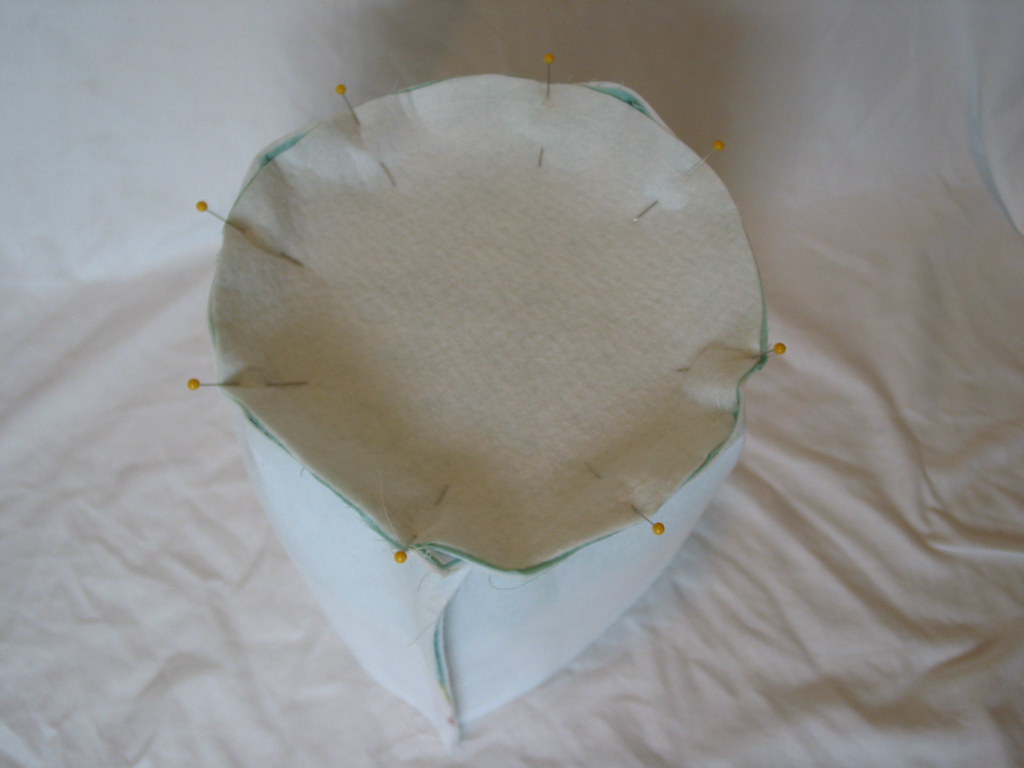
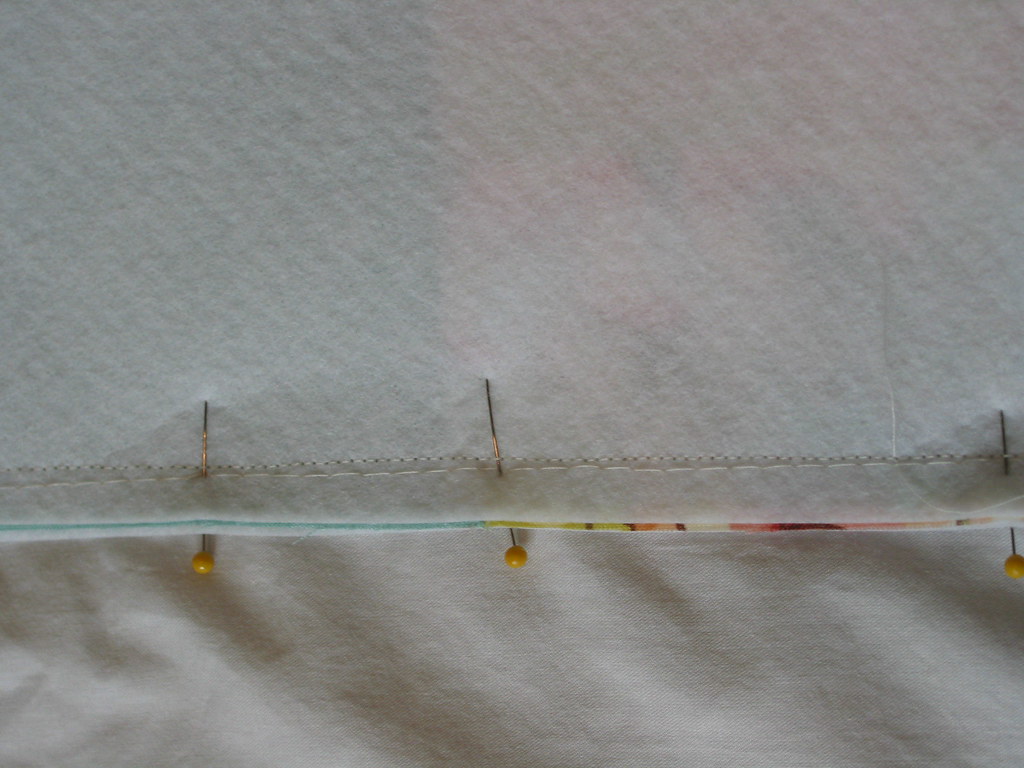
Sew together the bottom and side piece with a 1/2in seam allowance. Make sure your seam “covers” the basting stitches (that’s why there’s a difference in the seam allowance when basting vs. seaming. Or you can do it haphazardly like I did and pick out the basting stitches later. That’s sooo much fun!
Here’s what the stitching should kinda look like…
This will take a bit of fiddling and manipulating. When you sew over the side seam, you may need to get a “running start” on your machine so that it powers through. If you have a walking foot…use it!
Turn the bucket right side out. I iron the sides of the bucket once more to smooth out the wrinkles that are inevitable when you turn the bucket.
Handle construction:
(I’m sure there’s a better way to do this…but this is how I made mine. And apparently I forgot to take pics of this step…but is pretty much exactly what I did for the headbands.)
With right sides of handle fabric facing, place the interfacing strip on top and pin all together
Sew down each side (length wise) wish a ¼ in seam allowance
Trim the seam allowance down to 1/8 in or pink the seam allowance making sure not to snip the stitches
Turn the tube right side out so that the interfacing is between the handle fabric now
Press
Sew down the side of the handle with a 1/8in seam allowance. When you reach an end, tuck the fabric ends in, making sure one side wraps around the raw end of the interfacing.
Turn the corner and sew the ends, turn and sew up the other length of the handle with the 1/8in seam allowance.
Repeat the end treatment on the other end of the handle, sew to your starting point and snip your thread.
Repeat for the second handle.
Attach handles to the side of the basket
Ends of handles should be about 3.5 inches from the top of the basket and about 4 inches apart from each other.
Pin handle ends in place
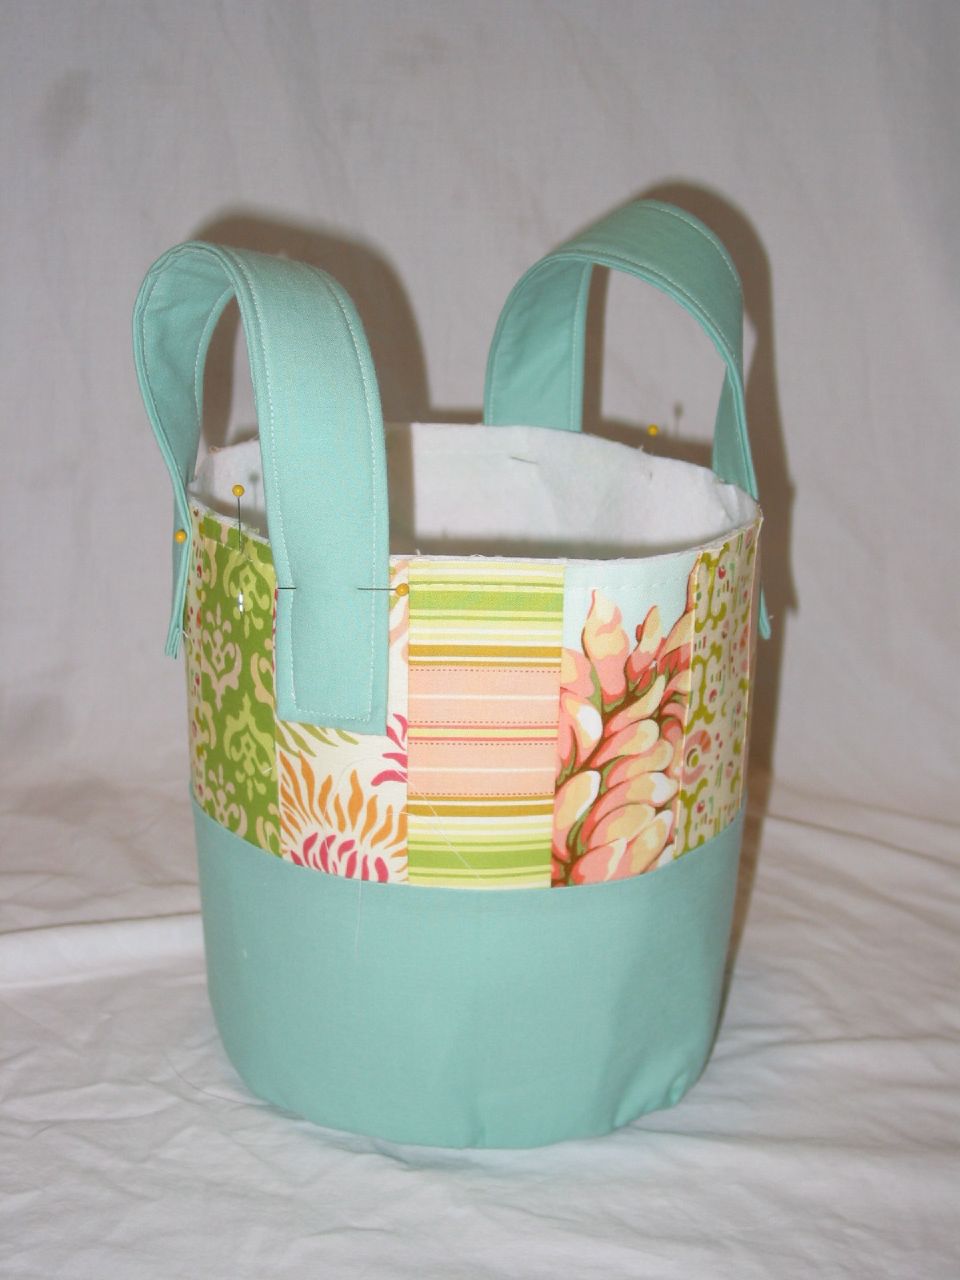
Sew handles down in a reinforcing square.
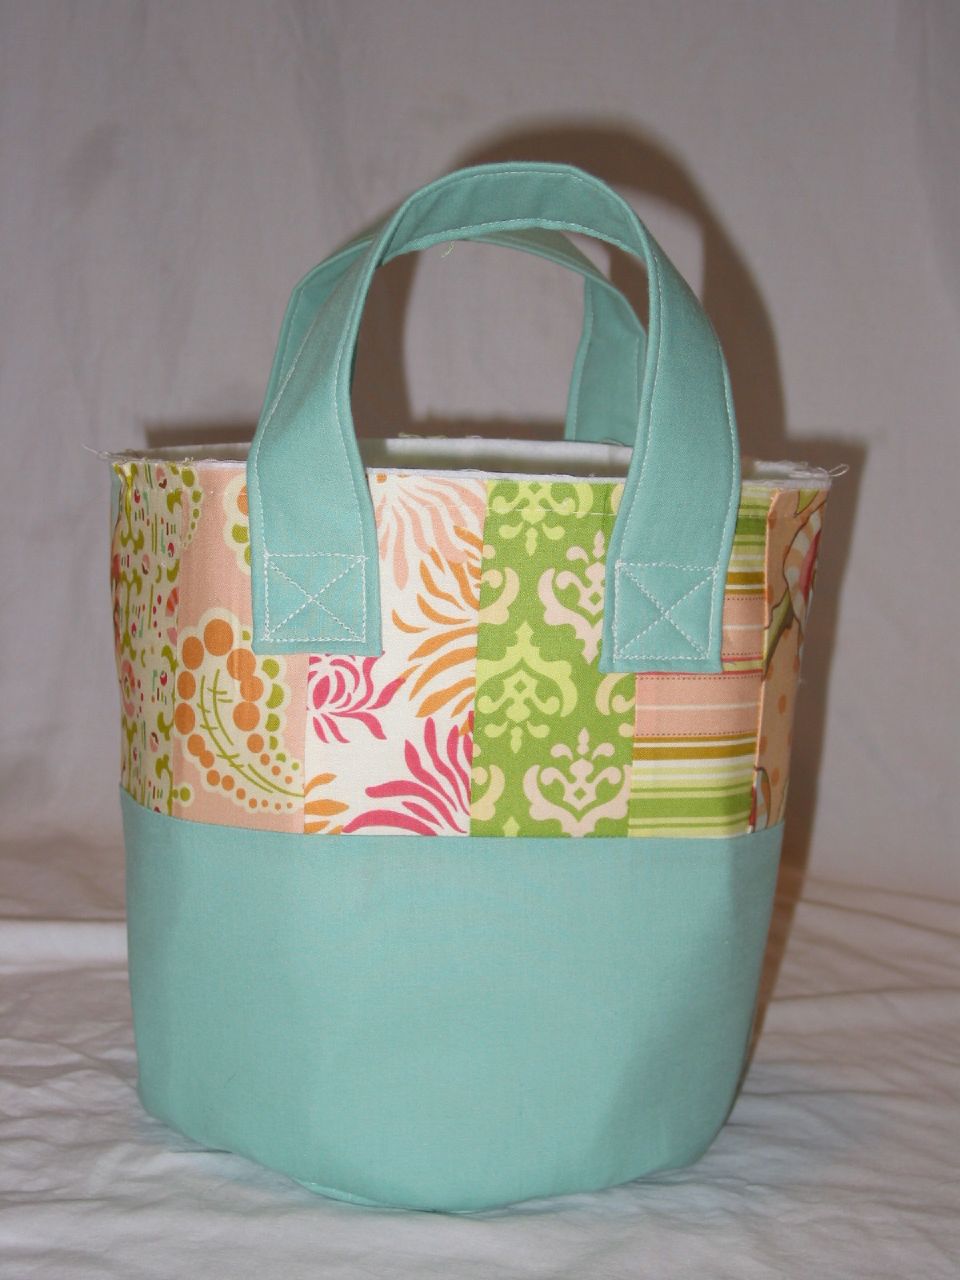
It takes a bit of mushing and smooshing to get this done, but you can do it! Iron the sides of the bucket one more time if you think they need it.
PHEW!
Bag Construction
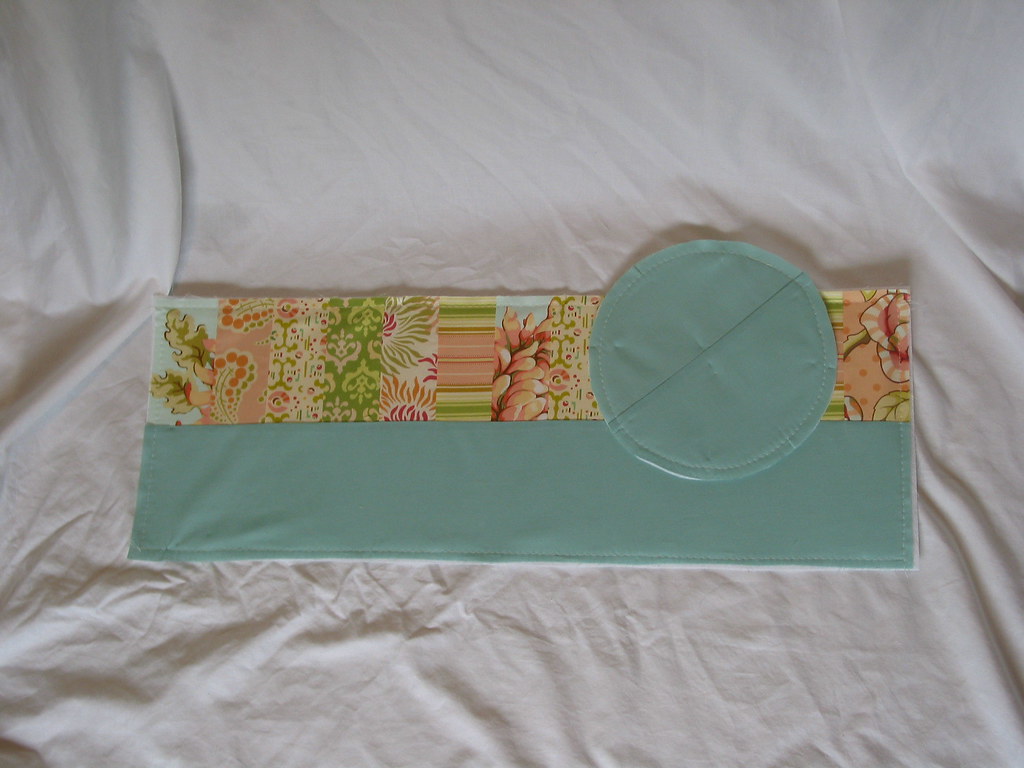
Sew trim to the top of the pocket edge
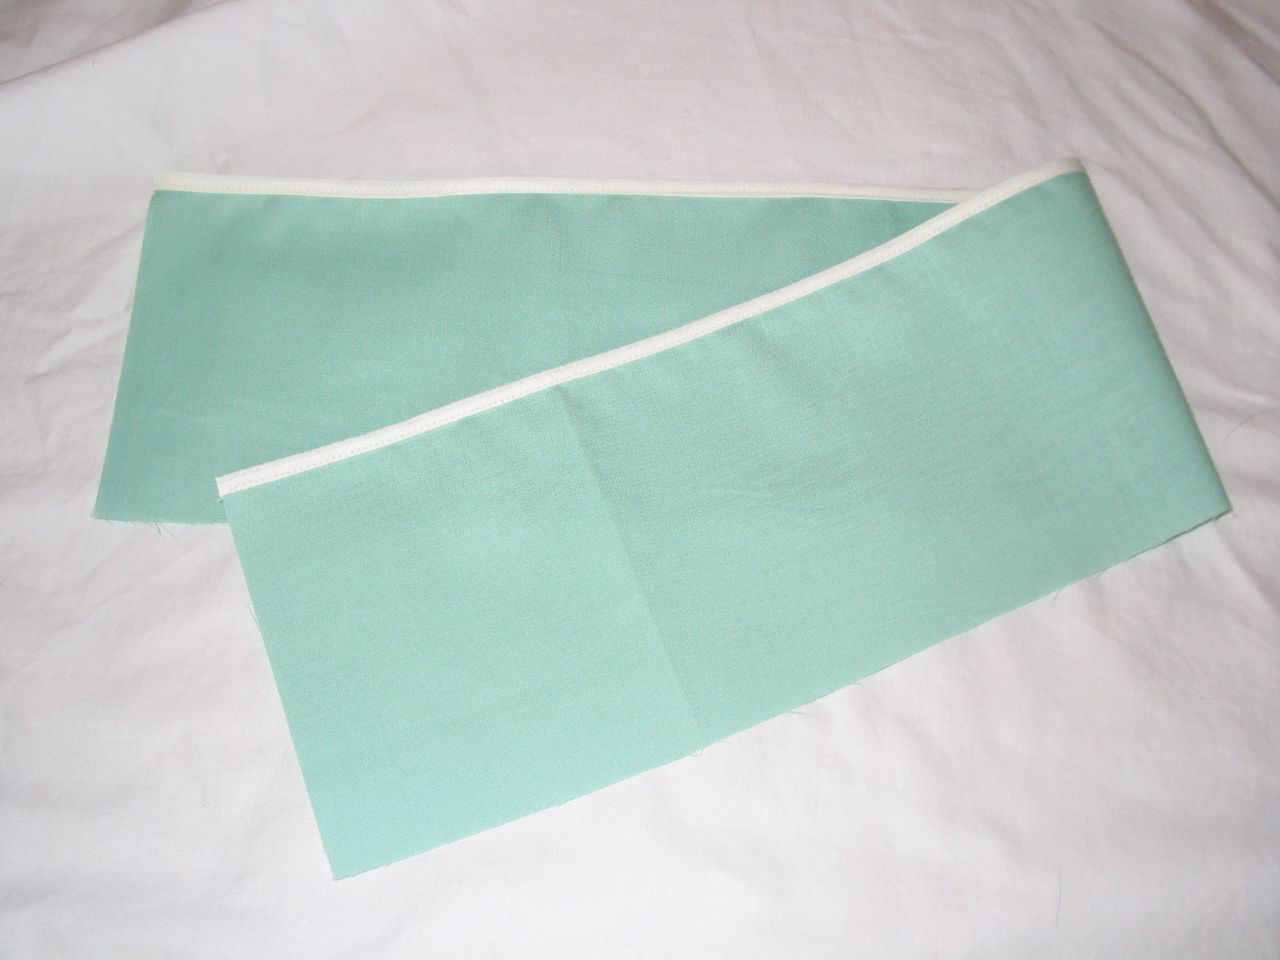
Sew pocket to lining along the bottom seam and sew (trimmed edge is towards the top)
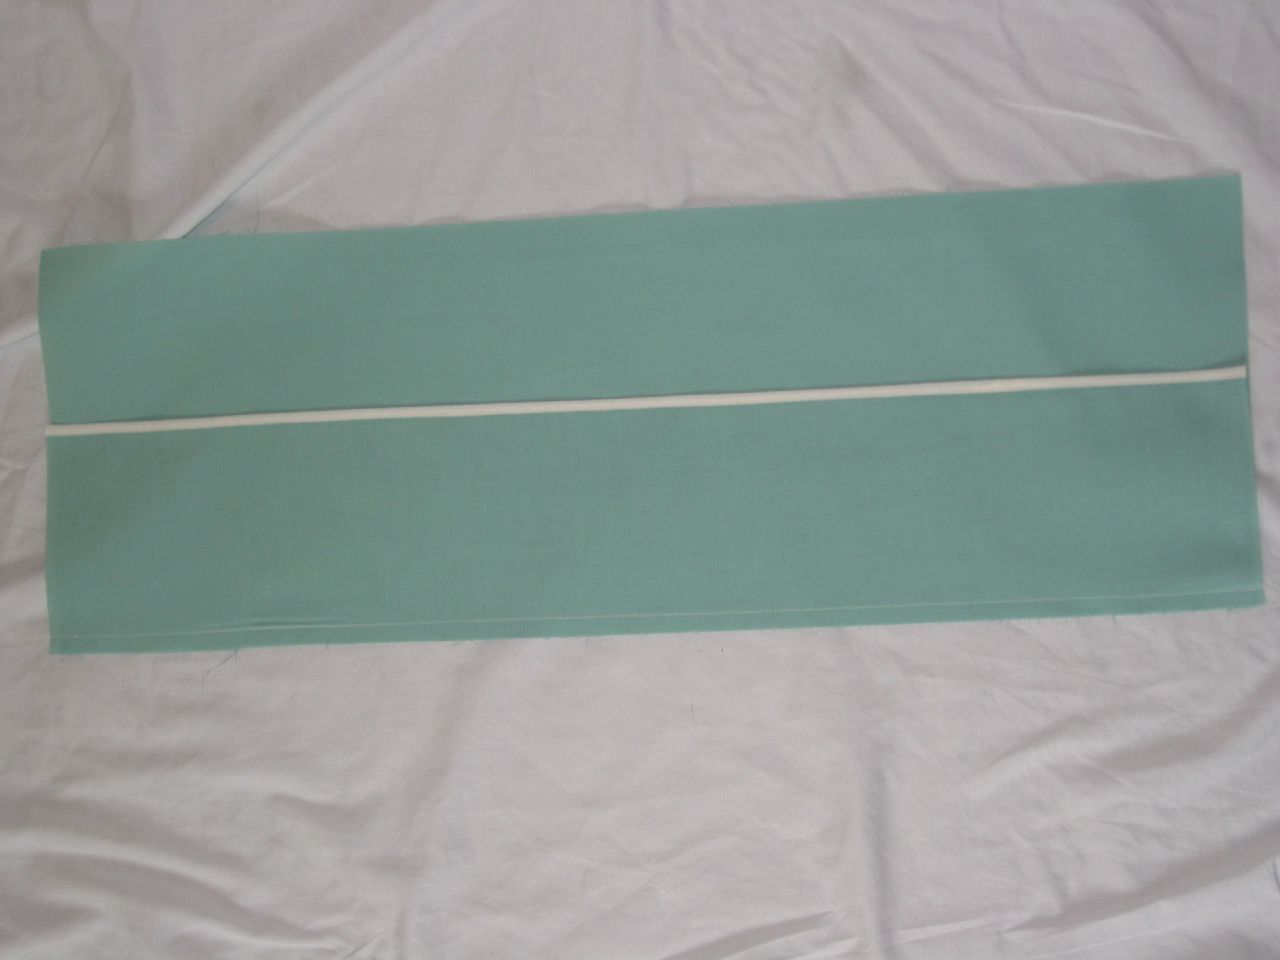
Sew pocket lines down at whatever intervals you’d like. I like some narrow and some wide pockets to help hold a variety of notions and tools.
Drawstring Top:
Fold in both sides 1/2” and iron (this is so you have a nice opening for your drawstring)
Fold down ¼” from the top of the fabric and iron. If you’re using a print, you should be folding so that the wrong side of the fabric is inside the fold.
Fold down another 1” from the top and iron. This creates the pocket for you to pull the drawstring through.
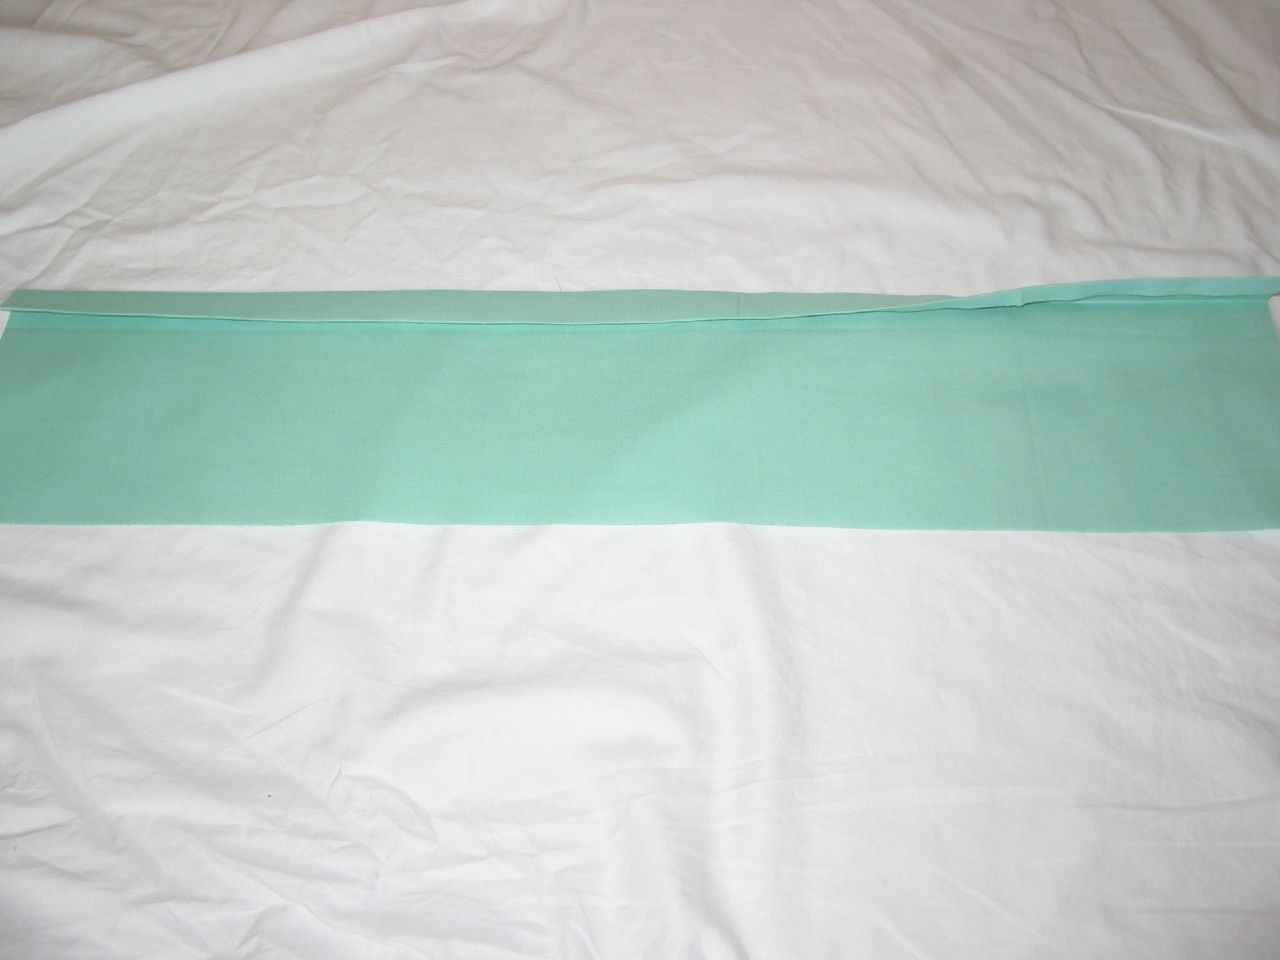
Sew down the length of the drawstring fold using a 1/8” seam allowance from the folded edge.
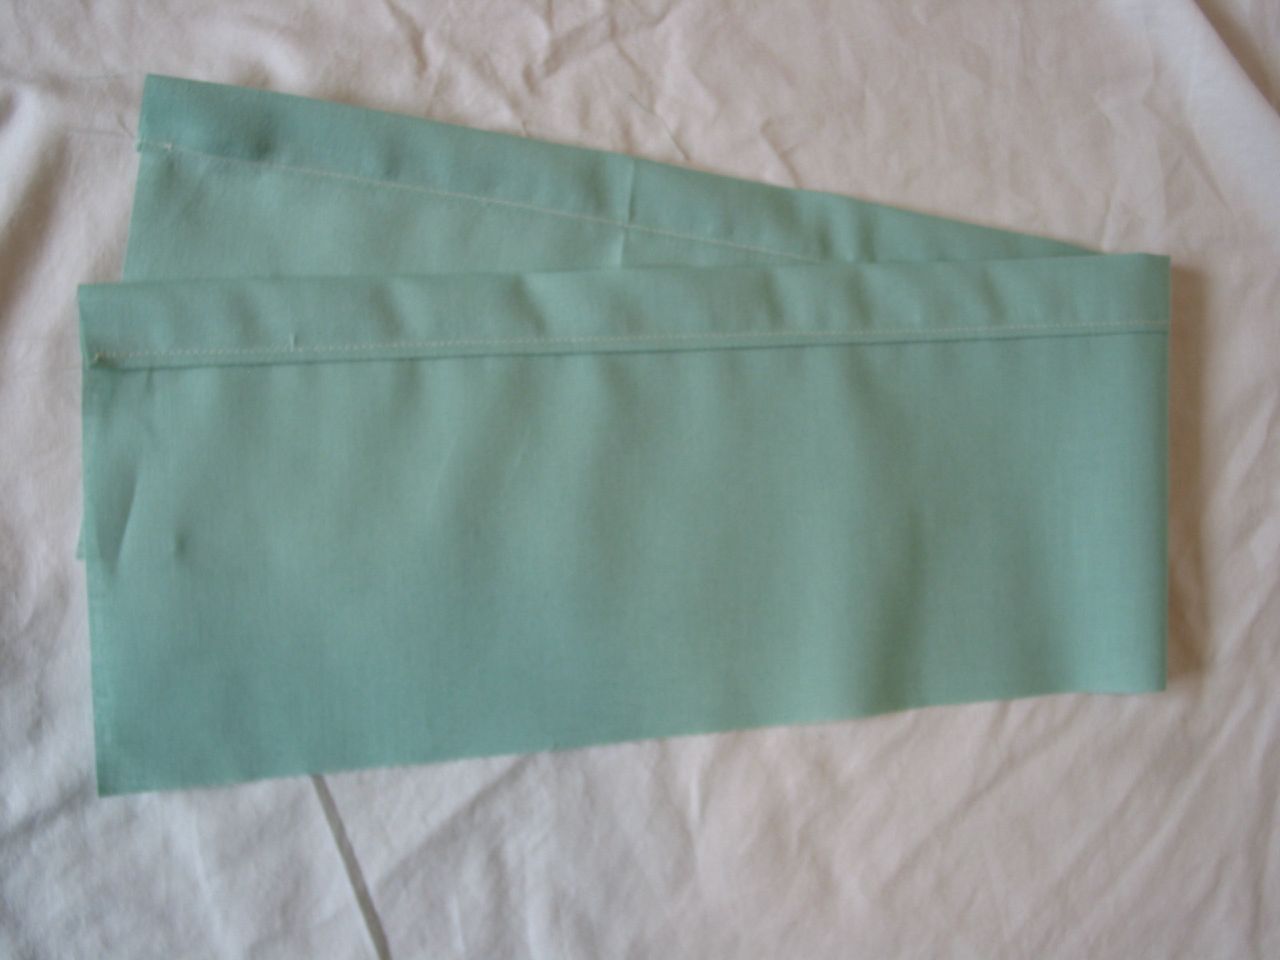
With “inside” sides facing, pin the drawstring fabric to the top edge of the side lining and sew together
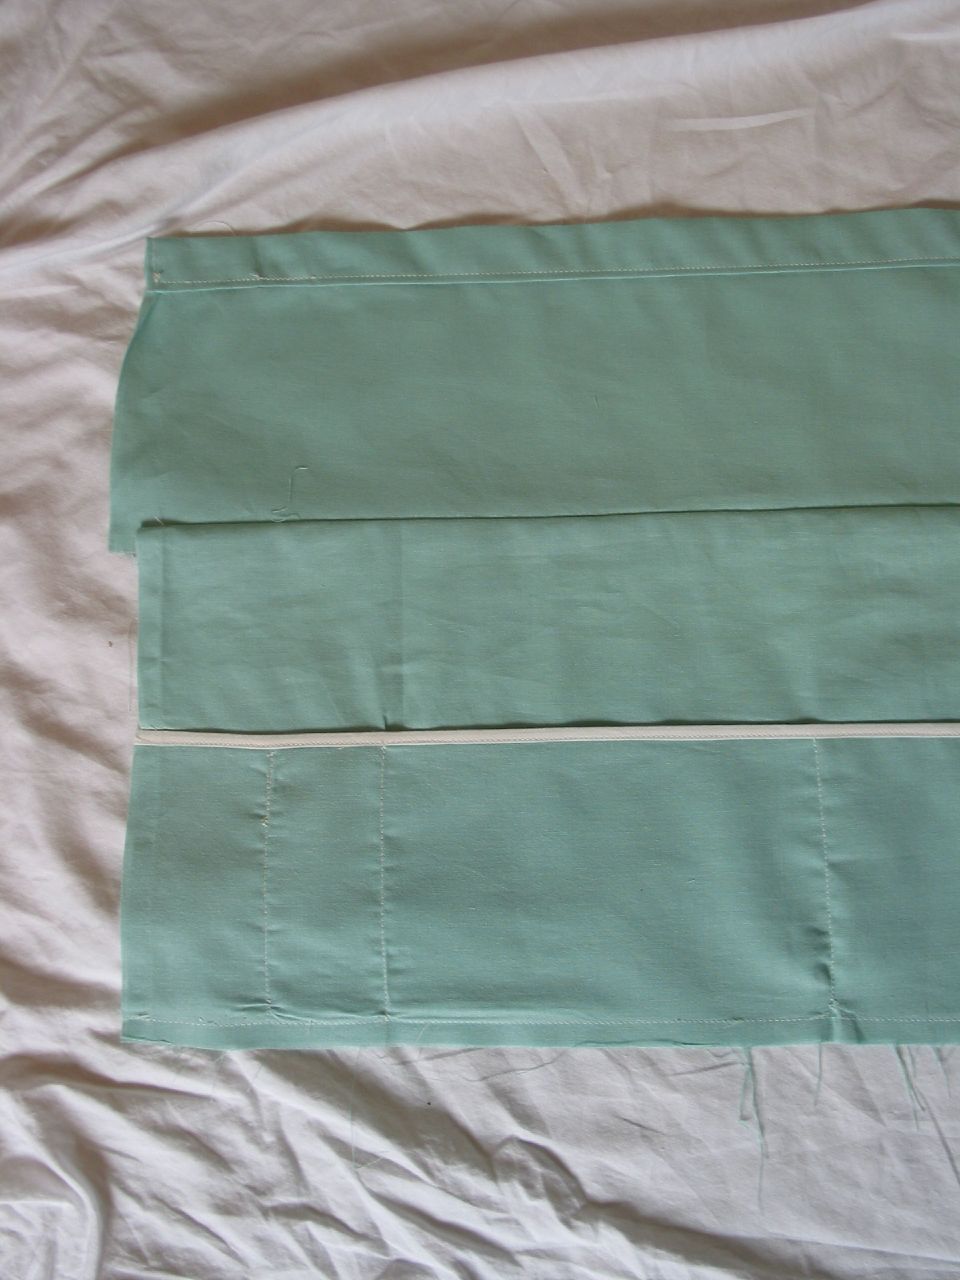
Line up edges of the inside lining and sew together at the ends (make sure the pockets are in).
**NOTE** Do not sew together the drawstring opening and make sure to line up the drawstring seam line and the top of the pockets when you sew together
Now for a nice clean look, do a pseudo-French seam along the drawstring flap (you don’t need to go all the way down the lining since only the drawstring flap shows both sides of the fabric.)
Basically, fold/roll the seam of the flap back onto itself. Press it down, pin it and sew it down so that the seam and raw edge is enclosed.
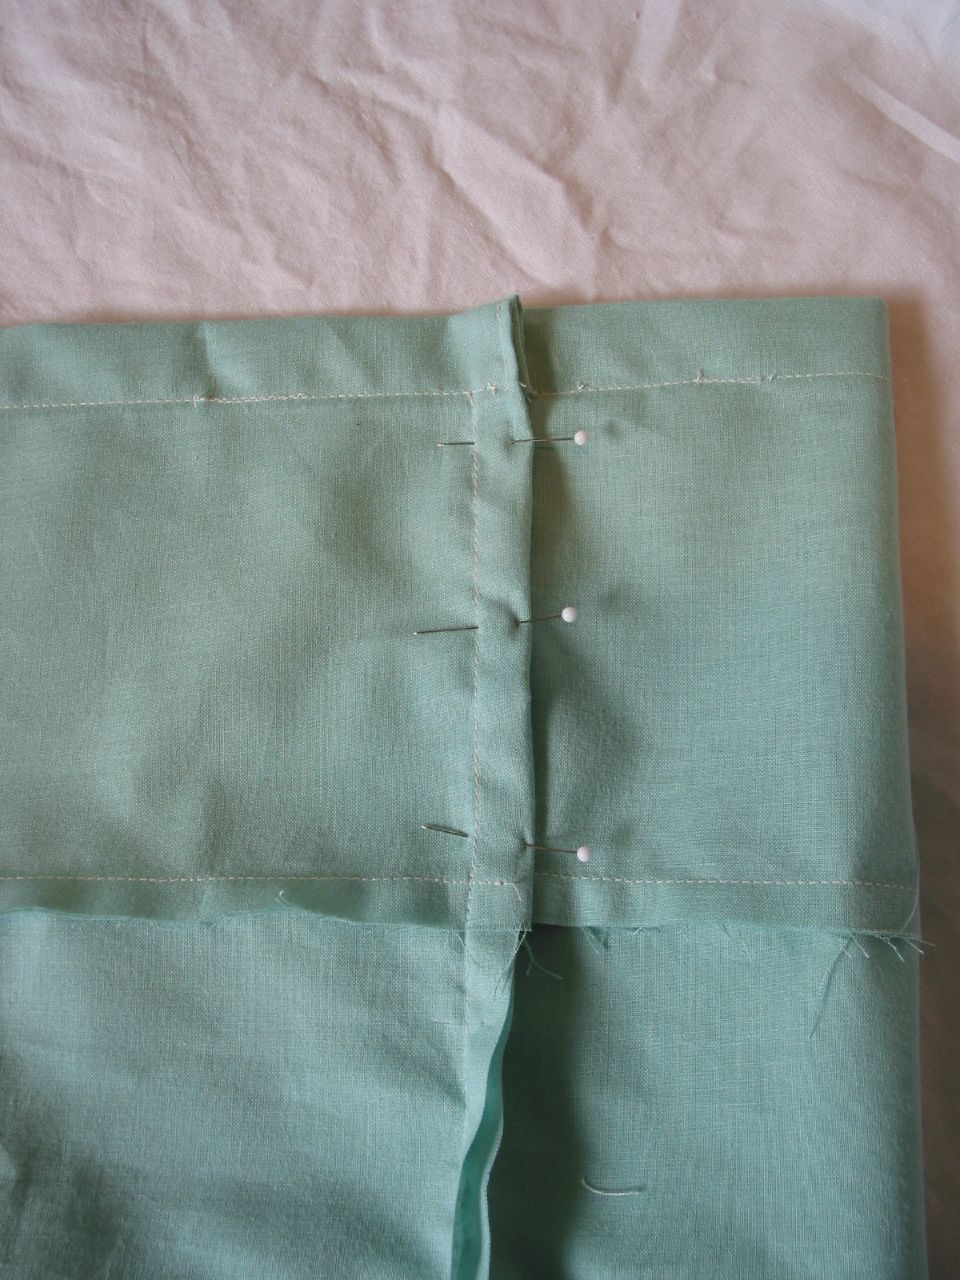
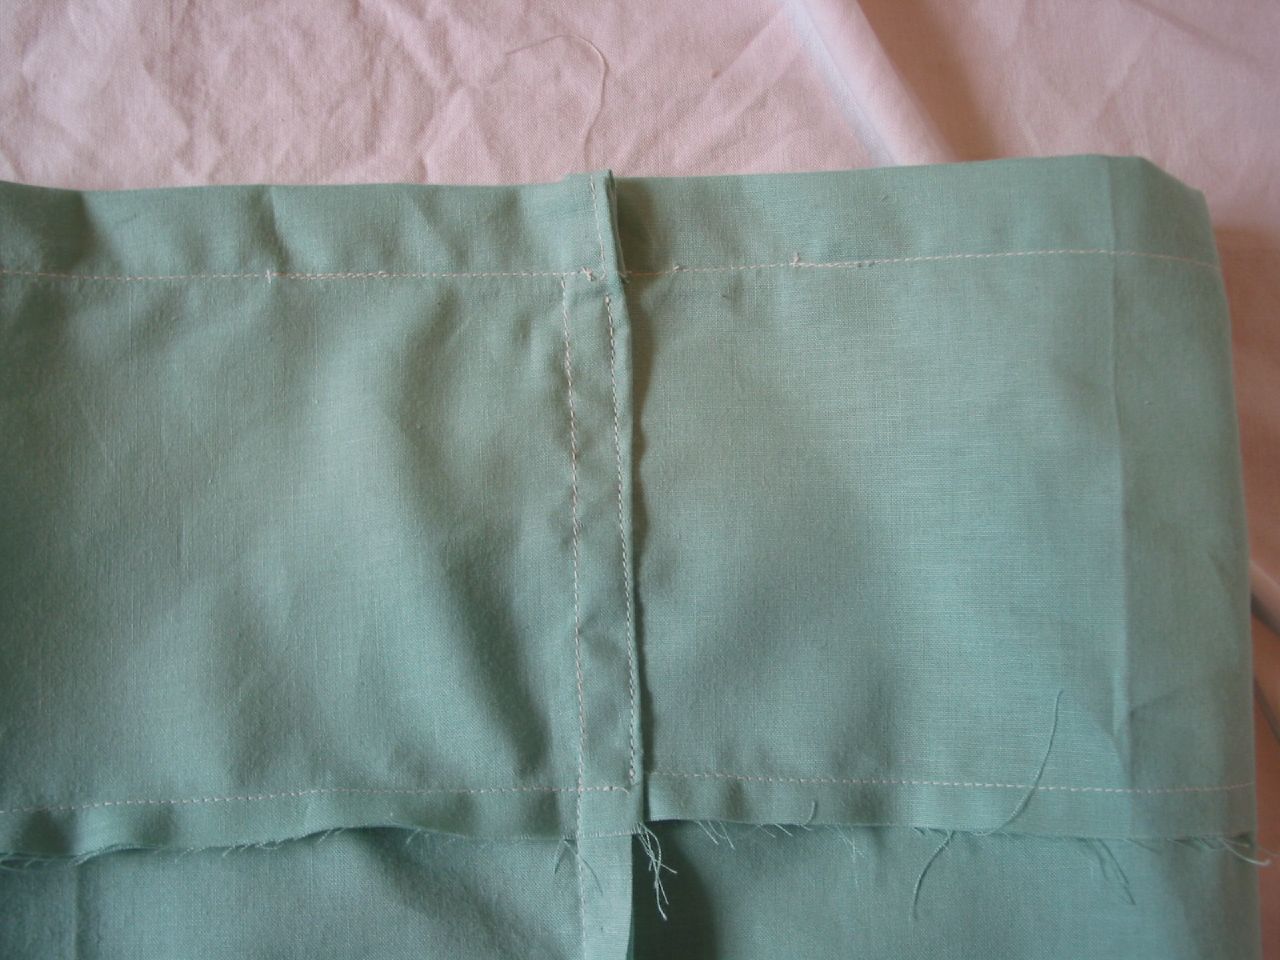
(Yeah, I know my instructions on this part are particularly bad.)
As you did with the bottom of the bucket, mark the 4 points of the bottom round and the bottom of the inside lining.
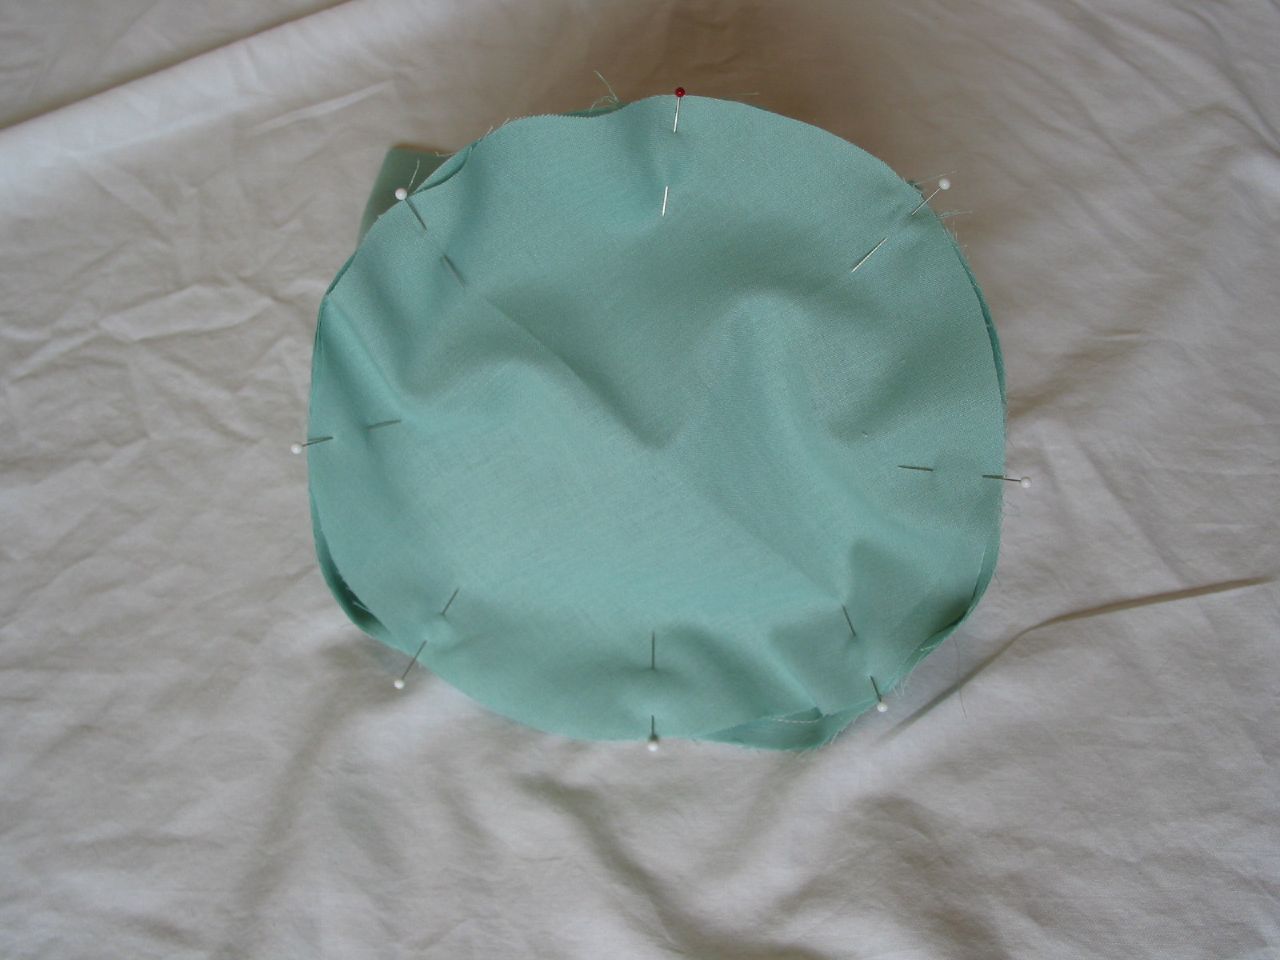
Pin the bottom round to the lining and sew together with a ½” seam allowance
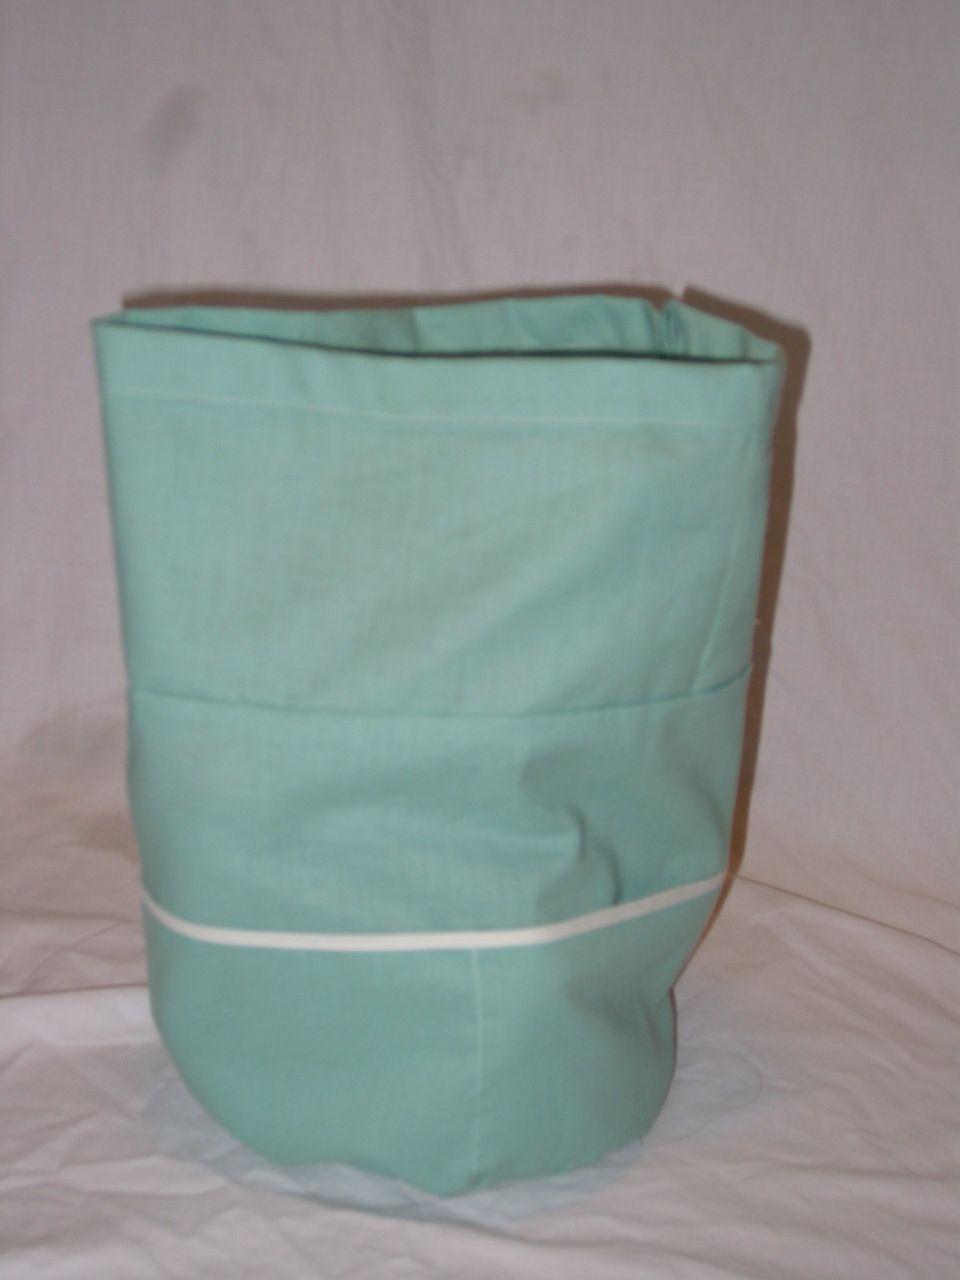
This is what it looks like with the INSIDE out (when you put it in the basket, you’ll want the pockets on the inside.)
Guess what! You’re ALMOST there! Let’s bring it all together now.
Tuck the lining into the bucket. Make sure the drawstring flap is tucked inside the lining.
Pin the lining to the bucket all the way around the top.
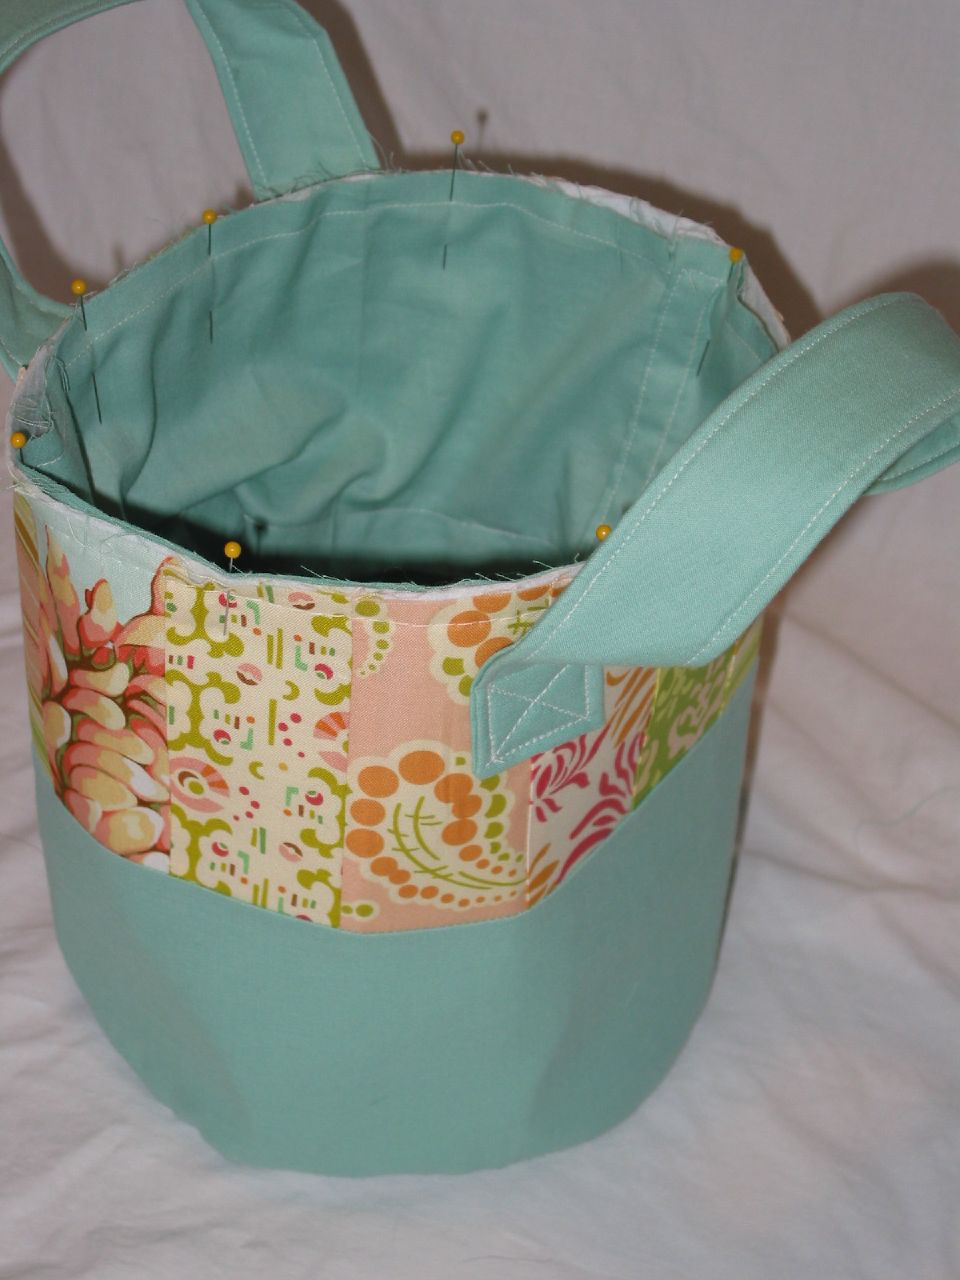
Sew along the top (you’re sewing through the bucket and the drawstring/lining side edges) to secure the lining to the bucket using a ¼” seam allowance. The key here is to sew close enough to the top of the bucket so that the stitches won’t show after you apply the binding.
Are you still hanging in there?!
FINALLY…line up the end of the wide trim with the bucket side seam. Sew the trim to the top of the bagsket. Make sure you catch both sides of the trim as you go. Take your time on this…I recommend pinning (I didn’t pin and I regret it since I didn’t catch a couple of spots of the inside trim.) When you reach the end, fold the end of the trim under so you have a nice neat end when you get back to the side seam.
Guess what! You’re all done! CONGRATS!
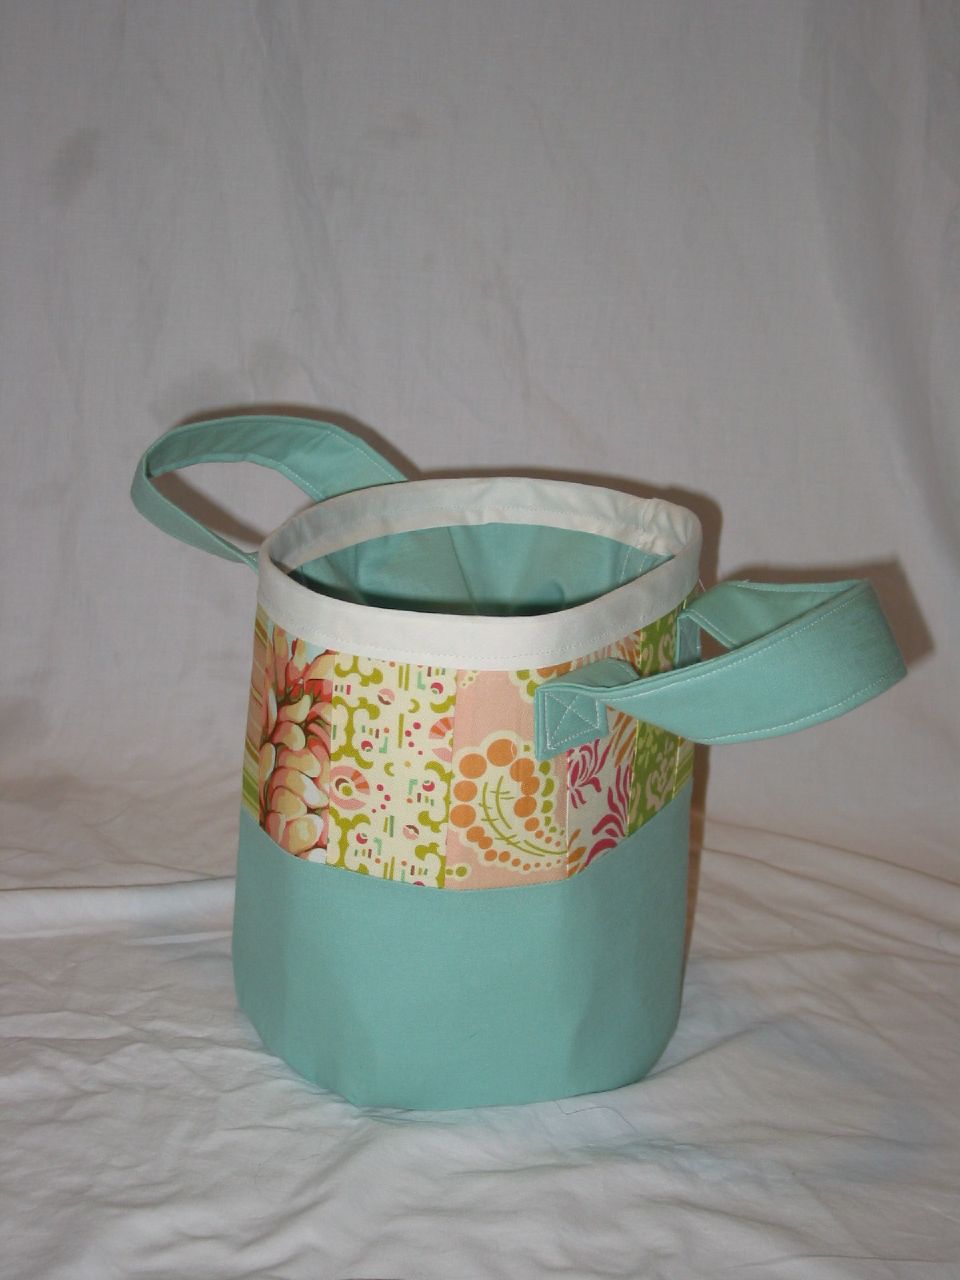
For a Larger Bag (12 in in diameter and 12 in tall)
Basket
12 inch diameter circle of interfacing
12 inch diameter circle of exterior fabric
38.7in x 12.5 in interfacing
38.7in x 12.5 in exterior fabric (top pieced strip = 38.7in x 5.5 in and bottom exterior strip = 38.7in x 7 in sewn together lengthwise with a ½ inch seam allowance.)
Bag
12 inch diameter circle of interior fabric
38.7in x 12.5 inch interior fabric
38.7in x 4.5 inch interior fabric (pocket)
39.7in x 9 inch interior fabric (drawstring top)
Handles/Trim
2in x 15in (x4) of handle fabric
2in x 14in (x2) of interfacing
38 in of pocket lining double-fold trim
38 in of exterior top double-fold trim
38 in of rickrack, ribbon or trim
Source: foofanagle.wordpress.com