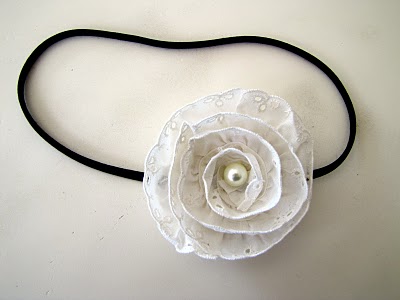
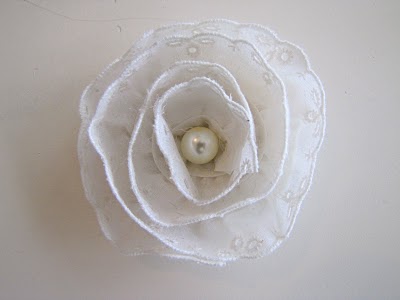
Victorian Lace and Pearl Headband TUTORIAL
{featured on Headband Week}
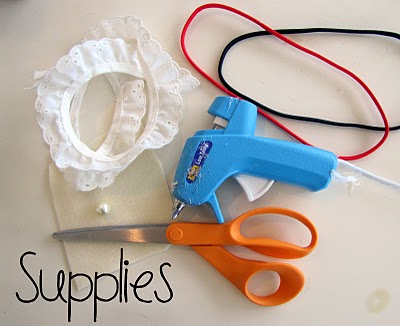
Here’s what you’ll need:
Lace or trim of your choice {about 12-18 inches}
Pearl or other embellishment {buttons would be cute}
Elastic Headband {purchased at $1 section at Target}
Felt
Scissors
Hot Glue
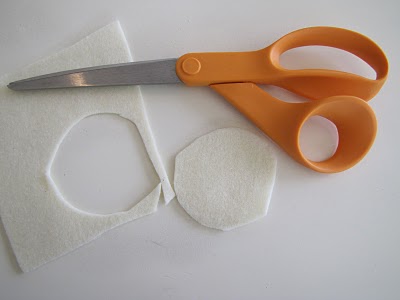
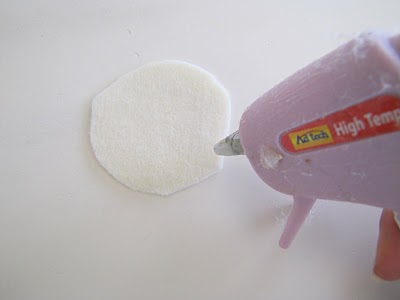
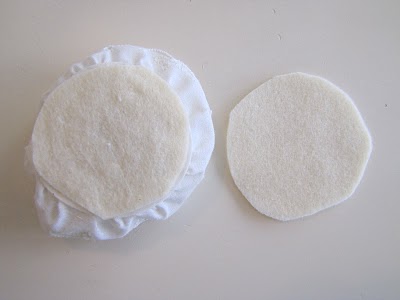
Step One:
Cut out TWO circles from your felt {same size}. They don’t need to be perfect circles.
Begin gluing from the outer edge of the circle {work from the outside in}.
Only glue about 1 inch at a time.
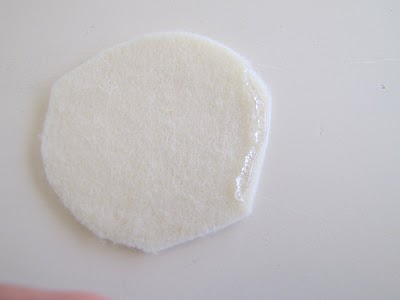
Begin to lay down the edge of your lace/trim along the glue and press firmly into place.
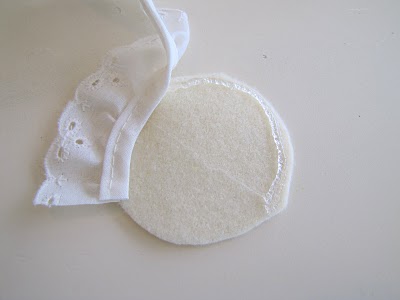
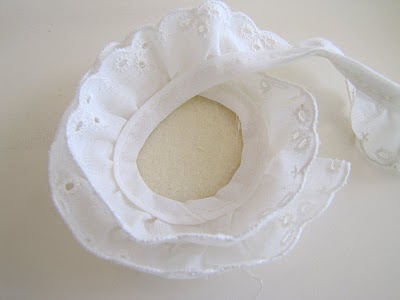
Continue this process until you reach the very middle of the circle.
Then cut the remainder of your lace and glue down the end.
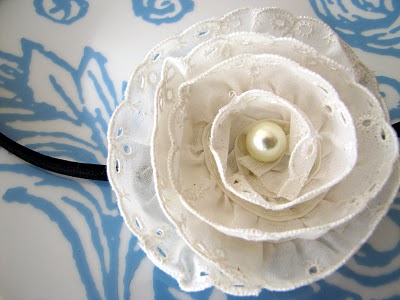
STEP TWO:
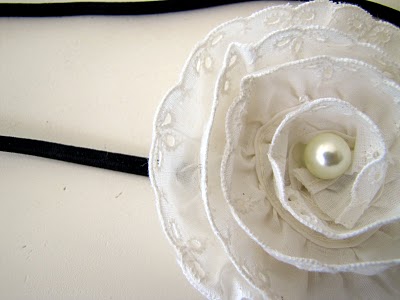
Glue down your embellishment {I used a pearl} to cover the raw edge/end of your lace.
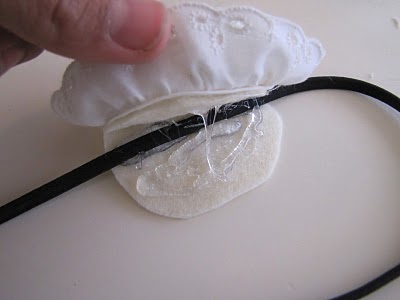
STEP THREE:
Flip over your flower and grab your second felt circle.
Place your stretchy headband in the center of the second felt circle.
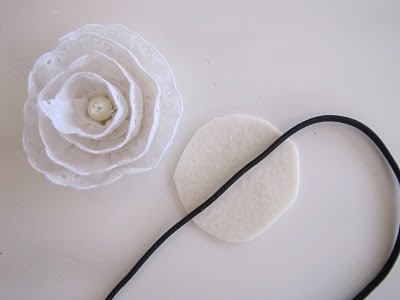
Then glue it into place.
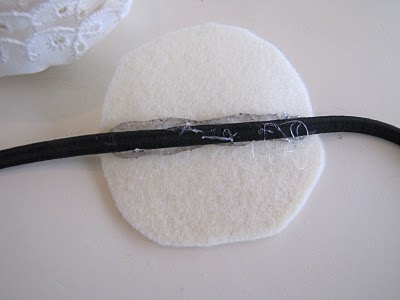
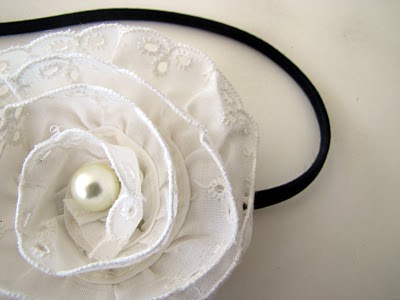
Now glue the felt portion of your flower to the second felt circle {see pic}.
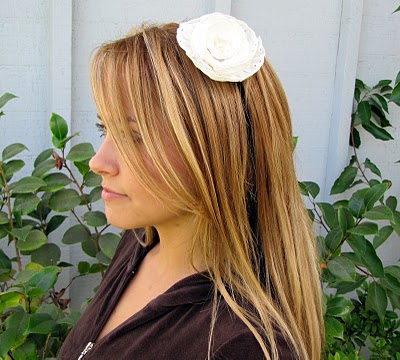
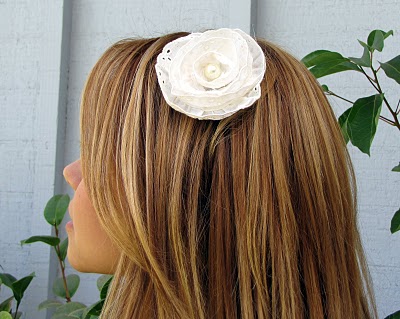
And that’s it!
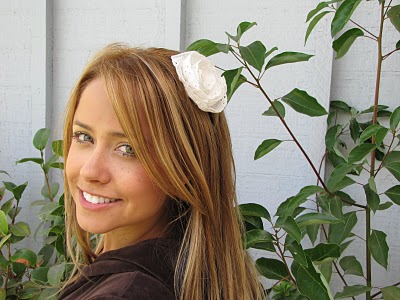
The possibilities are endless with this tutorial!
You could try all different colors and types of lace and/or embellishments–get creative and get ready to link up your headband on our Friday Headband Link Party!
Source: littlemissmomma.com