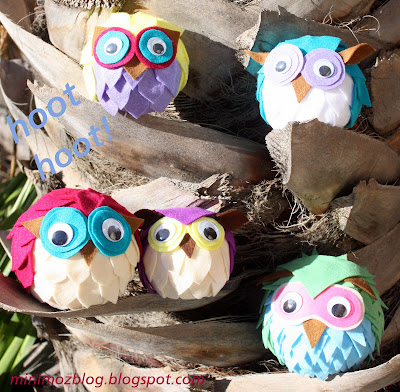
 FELT OWL
Gift presents for kids: Felt owl tutorial
Materials-
Craft Glue
Scissors
Polyfoam Ball 100mm
Googly Eyes
Knife

Step 1:
Using a knife, cut off the bottom section of the poly foam ball.
This will help to keep the ball from rolling.

Step 2:
Cut out oval shapes with pointed ends using 2 different felt colours. They will be the feathers for the owl. I cut approx. 14 cream for the belly & about 32 purple, but it really does depends on how big they are & how much you overlap them.

Step 3:
Cut out 4 circles for the eyes. Two big, Two small.
These will create the owl's eyes.

Step 4:
Cut out 2 Oval shapes from the brown for the ears.
Cut out 1 small triangle for the nose.
Cut out 1 big triangle for the head.

You should have everything cut out now.

Step 5:
Using the cream felt, start from the bottom & work your way around and then up, other lapping as much as you like.
Stop when you think the belly is big enough. Go up 3/4 of the way.

Step 6:
Do the same with the purple.

Step 7 :
Glue the Nose & the Yellow eyes in place, making sure the Nose is underneath the eyes.

Step 8:
Place the Big Triangle cut out on top of the owl 's head.
If there are any poly foam not covered (like in my picture.)
Move the feathers around to cover- hopefully the glue hasn't dried yet.
Remove the triangle - do not glue on yet.

Step 9:
With the 2 Brown oval felt bits, squeeze the ends together and glue.
Leave to dry, use something to hold it together.

Step 10:
Glue ears in place.

Step 11:
Glue Triangle on.
Glue Google eyes on.

And here it is: HOOT HOOT!!!!
