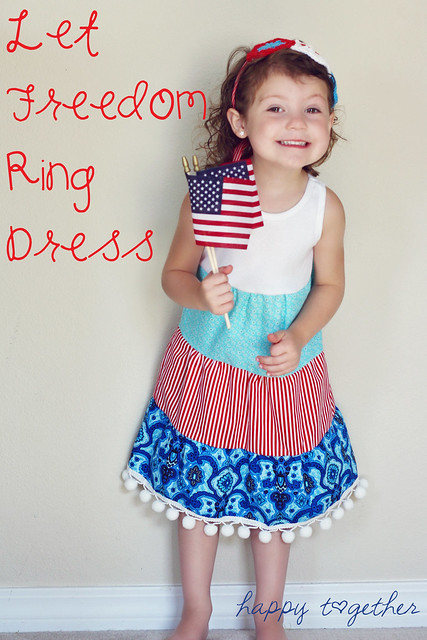
Gift presents for a little girls: Let Freedom Ring Dress Tutorial
Sewing patterns
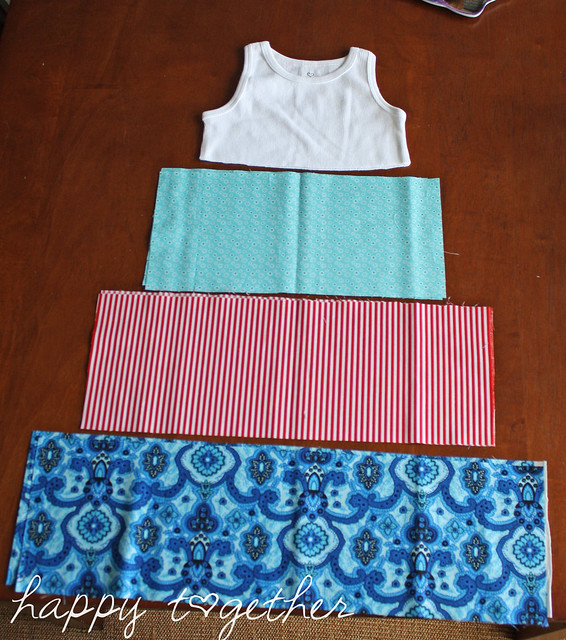
What you will need to make this dress:
-A knit tank top
-Fabric for the 3 tiers
-Any additional embellishments you desire (I added a pom pom trim to the bottom).
-All your sewing things
-A knit tank top
-Fabric for the 3 tiers
-Any additional embellishments you desire (I added a pom pom trim to the bottom).
-All your sewing things
Notes:
-Always back stitch at the beginning and end of sewing, unless otherwise stated.
-Seam allowances are 1/4" unless otherwise stated.
Directions:
1. Chop off the bottom of the tank top where you like. Keep in mind to leave a little extra length for the seam allowance for sewing on the first tier.
2. Determine the height and width of one piece of the three tiers. You will be cutting two pieces for each.
a. -To determine the height of each layer, decide how much longer you want the dress to come from the bottom of the cut off tank top.
- Then divide that number by 3.
- Add at least .5" for a seam allowance to that number (that would give a .25" seam allowance on the top and on the bottom of the layer). I added 1" for seam allowance just to be on the safe side.
So, I wanted the length of the three tiers to be 16" long. I divided it by 3 and got 5.33". I rounded it up to 5.5" and added 1", making the height of each tier 6.5".
b. To determine the length of each tier, do the following:
-For the very top tier, measure the bottom of the tank top on one side. Then multiply it by 1.3 and add 1" seam allowance.
*Note: If you want yours more twirly, I suggest maybe starting with the first tier being multiplied by 2 or more.
-For the middle tier, take the length of the first tier and multiply it by 1.3 and add 1" seam allowance.
*Note: Again, if you want it more twirly, multiply by 2 and so forth
-For the third tier, take the length of the second tier and multiply it by 1.3" and add 1" seam allowance.
*Note: Again, if you want it more twirly, multiply by 2 and so forth
It will look like this:
The bottom of the tank top I used was 10.5"
1st tier: (10.5" x 1.3) + 1"= 14.65" (I rounded it up to 14.75")
2nd tier: (14.75" x 1.3) + 1"= 19.175" (I rounded it down to 19")
3rd tier: (19" x 1.3) + 1" = 25.7" (I rounded it up to 26")
Cut 2 pieces for each tier.
Example:
Height x Length
1st tier: 6.5" x 14.75"
2nd tier: 6.5" x 19"
3rd tier: 6.5" x 26"
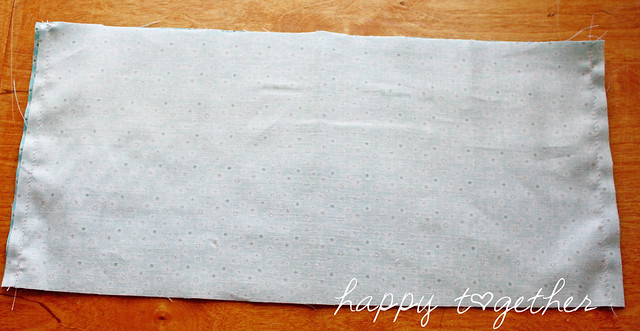
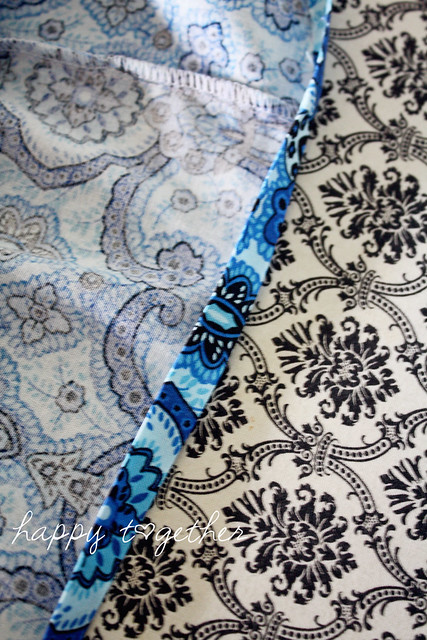
3. Take the two pieces for the 1st tier and place together right sides facing. Sew together down the short sides.
- Then divide that number by 3.
- Add at least .5" for a seam allowance to that number (that would give a .25" seam allowance on the top and on the bottom of the layer). I added 1" for seam allowance just to be on the safe side.
So, I wanted the length of the three tiers to be 16" long. I divided it by 3 and got 5.33". I rounded it up to 5.5" and added 1", making the height of each tier 6.5".
b. To determine the length of each tier, do the following:
-For the very top tier, measure the bottom of the tank top on one side. Then multiply it by 1.3 and add 1" seam allowance.
*Note: If you want yours more twirly, I suggest maybe starting with the first tier being multiplied by 2 or more.
-For the middle tier, take the length of the first tier and multiply it by 1.3 and add 1" seam allowance.
*Note: Again, if you want it more twirly, multiply by 2 and so forth
-For the third tier, take the length of the second tier and multiply it by 1.3" and add 1" seam allowance.
*Note: Again, if you want it more twirly, multiply by 2 and so forth
It will look like this:
The bottom of the tank top I used was 10.5"
1st tier: (10.5" x 1.3) + 1"= 14.65" (I rounded it up to 14.75")
2nd tier: (14.75" x 1.3) + 1"= 19.175" (I rounded it down to 19")
3rd tier: (19" x 1.3) + 1" = 25.7" (I rounded it up to 26")
Cut 2 pieces for each tier.
Example:
Height x Length
1st tier: 6.5" x 14.75"
2nd tier: 6.5" x 19"
3rd tier: 6.5" x 26"
3. Take the two pieces for the 1st tier and place together right sides facing. Sew together down the short sides.
4. Repeat #3 for the 2nd and 3rd tier.
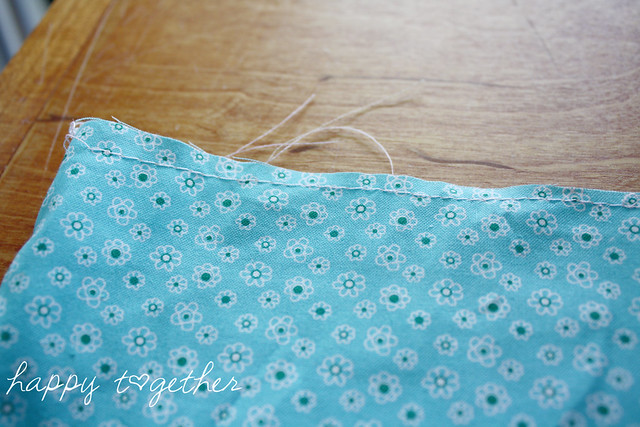
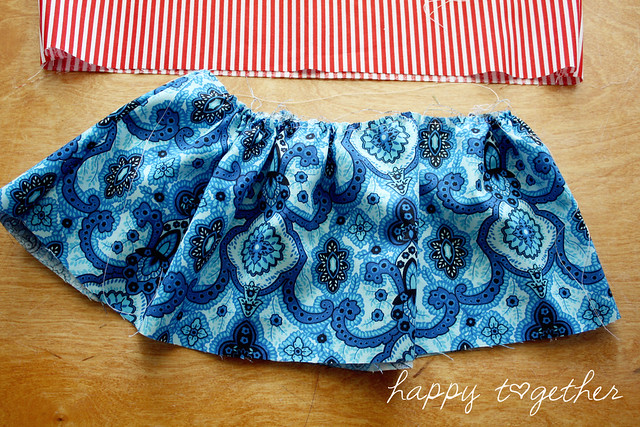
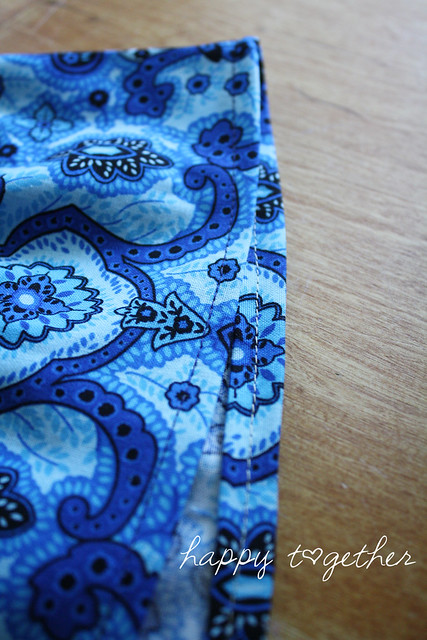
5. Baste (create a long straight stitch, with no back stitching at all) across the top of each layer no further than 1/4" down. I baste one top side first then the other top side to make it easier to gather.
6. Gather (pull the bobbin thread to create a ruffle look) each layer.
7. Place the gathered top of the 3rd tier to the bottom (non gathered edge) of the 2nd tier, right sides facing. Match up the side seams and then even out the gathers so the 3rd tier fits perfectly to the 2nd. Pin in place.
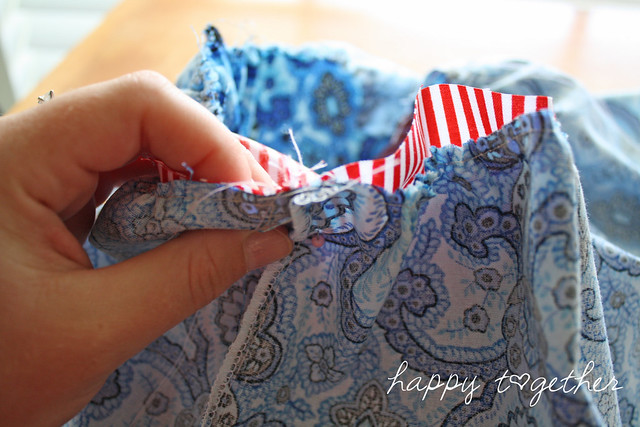
8. Sew together and finish raw edges if you like (go over the edge with a serger or simply use a zig zag stitch that is on a regular sewing machine).
*Tip: I sew a little bit further down from where I gathered so that thread doesn't show on the outside. Then I don't have to try and rip it out so it doesn't show anymore.
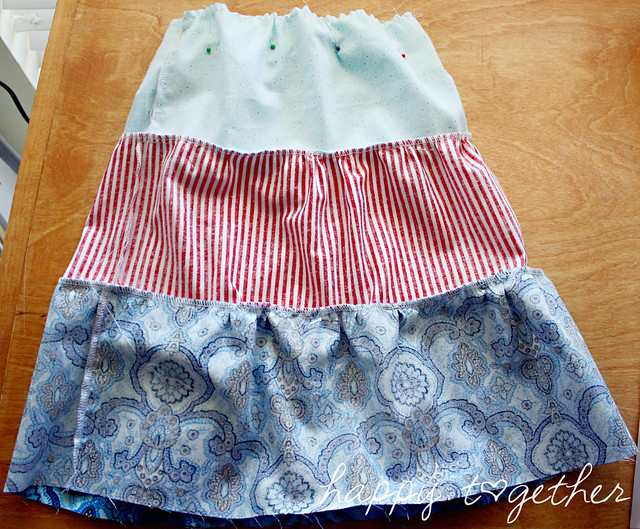
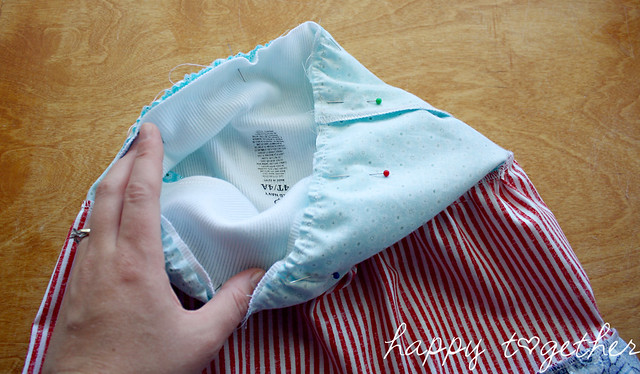
9. Repeat steps #7 and #8 to connect the 2nd tier to the 1st tier and then the 1st tier to the tank top.
10. Hem the bottom.
a. Turn the bottom up towards the inside 1/4" and iron.

b. Turn the bottom up inside 1/4" again, iron, and pin in place.
c. Sew around the bottom to create the hem.
11. Add any embellishments you like. I added a trim to the bottom, but you could do so much to make it even more fun :)
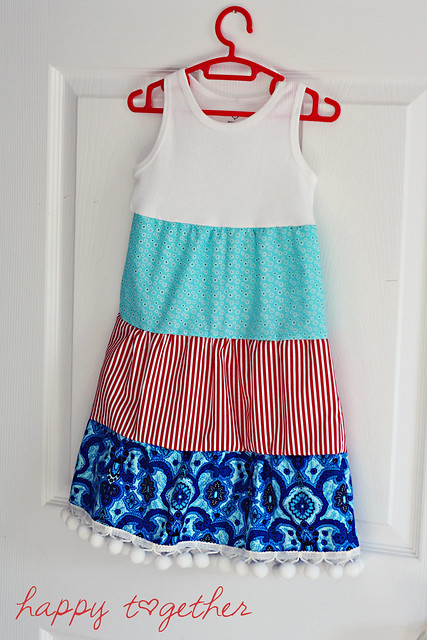
Now if you have a little girl and a little extra time you can easily create a fun new dress for the upcoming holiday or just for everyday play. Enjoy and add your own creation using this tutorial to theFlickr group to share your take on it with us.

Source: @happytogethercreates.com